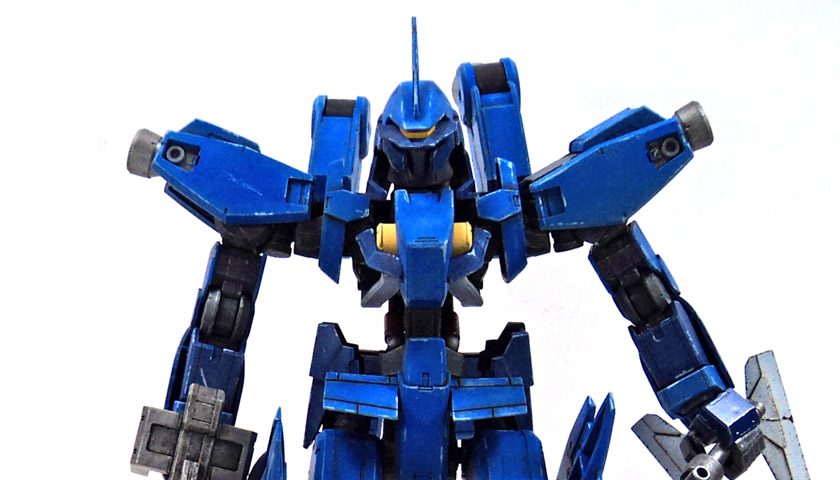
Gunpla number nine is finished and done!
Overall, I really enjoyed this kit. As I’ve watched “Iron Blooded Orphans”, the anime series in the Gundam franchise in which this mobile suit appears, it has grown on me. Initially, I wasn’t much of a fan of any of the suit designs. Over time, however, I’ve started to like them. I’d finished the Gundam Barbatos from the IBO series a few weeks back, and the HG Graze Custom was my first Gunpla build. And I already have the Grimgerde waiting to get started. So I guess I’ve taken to them.
For 1/100 scale kits, they’re a good bargain. While not having all of the detail and parts of a Master Grade Gunpla, they do feature a full inner frame, nice color separation, few if any seam lines to deal with, and best of all, they’re not expensive at all. (I found this one on Amazon for under $17!)
The one drawback is they don’t seem to have quite the articulation their Master Grade counterparts do. This Schwalbe Graze, especially, seems to be a bit lacking in that area. Most of it is due to the shape of the parts- lots of things bumping into each other.
Bitten By The Bandai Plastic Bug!
I’ve heard of the troubles that thinners can cause Bandai plastic, and I have not ignored them. I’ve been very careful on my builds to prime, paint, coat, and generally protect the plastic. Additionally, I’ve tried to use enamel panel line washes in a way that won’t affect joints and other areas like that.
However….
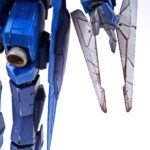
I’d forgotten about the “Edward Scissorhands” feature on the left arm. It was a three piece assembly- two scissor parts, and a small mounting point that they both attached to. I’d built it when I was nipping and denubbing. And then I forgot it was three parts.
So late in the build, I primed it all as one piece- thinking it was a solid mold. I then painted it with acrylic paints, let it dry, and coated it all in Future. I then applied a panel line wash using enamels.
As I was working on another kit that needed a panel line wash also, I set the Schwalbe part aside, and worked on the other kit.
For three minutes. THREE.
I looked back at the Scissorhands… and a crack had formed across one. Suddenly realizing what had happened, I grabbed it to try and stop the damage.
One of the scissor blades had split all the way across, and the two small mounting pins on each blade had broken off also. I pulled the pieces apart, and quickly removed all of the thinners I could. I then set it aside to let it dry.
The next morning, I glued it together. It looked fine, but it had destroyed its ability to move.
So, lesson learned. It happens fast, too.
Beware the Bandai Plastic Bug!
However, I don’t worry about that aspect too much. To be truthful, I’m not a big fan of all the articulation anyway. I know that is the appeal for most folks, but my preference would be to pose it, and set it on the shelf. In fact, if I were only building for myself, I’d likely glue it into a particular pose, and leave it. But because I build these to sell, I leave them moveable, and let the buyer have fun with it.
On this one, I even decided to just go the boring route with photos, and not do any action poses. It’s solid enough, but I just don’t like all the handling required to get it into a pose. They creak and squeak and sometimes parts pop off… it’s just a bit nerve wracking for me. So all of Mr. Schwalbe’s poses are of the “Olan Mills” variety. 🙂
As to the build- what can I say? It’s Bandai. All the seam lines are either hidden, or worked into the suit as panel lines. Everything just fits. I didn’t even have any areas that were difficult to get together. While I often see High Grades recommended as first Gunpla builds, or for younger builders, I think this one would be just as easy to build. It does have more parts, but nothing is fiddly at all.
In a previous blog entry, I’d noted how happy I was with the Vallejo Mecha Colors that I used for this build. Nothing has changed my mind about that. I won’t throw out my old paints, but certainly new colors, and replacement colors, will be sourced from that line. They simply work so very nicely.
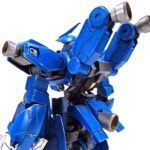
For the weathering, I decided to go minimal. The character who piloted this mobile suit, McGillis Fareed, was basically part of an elite class of rulers of a military faction, and he was quite “GQ”. I just can”t imagine he’d let his mobile suit stay dirty for too long. So I tried to think of how it would look after returning from an engagement, ready to be painted and patched and polished for the next adventure.
I did some simple chipping in light blue, using Citadel’s Fenrisian Gray. I applied a panel line wash of Ammo of Mig enamels, and then did a light fade coat of very light blue, and a shade of very dark blue. Looking at the final result, I wish I’d gone just a bit heavier with the fading. I thought I’d done it to a good level, but later matt coats always dull it down, so it is a bit flat. But I’m happy with it.
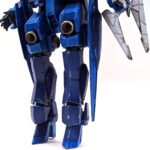
it’s a good kit. No worries, no sweat, and no huge outlay of cash to acquire it. It’s probably not the most exciting design, but I love those blue colors. And it does have those groovy glam rock boots, so you have to love that! Rock on, baby!
Give this Gunpla a try!





Leave a Reply