
Adding chipping to your models is a great way to a level of realism to your model. Chips, scratches, and other abrasions appear of practically every real world object, so applying those to our models makes sense.
And even if the genre is not real world, adding chipping effects brings realism to the table. It’s what our brains expect to see, especially on any equipment that has seen combat.
Adding Chipping To Your Models – The Methods
The great thing about adding chipping effects is that there are so many varied way to accomplish the task. And the methods are varied enough to allow for easy paths of entry for the beginning modeler, yet allow for advanced modelers to achieve very refined results.
For this video, I look at four basic types of chipping.
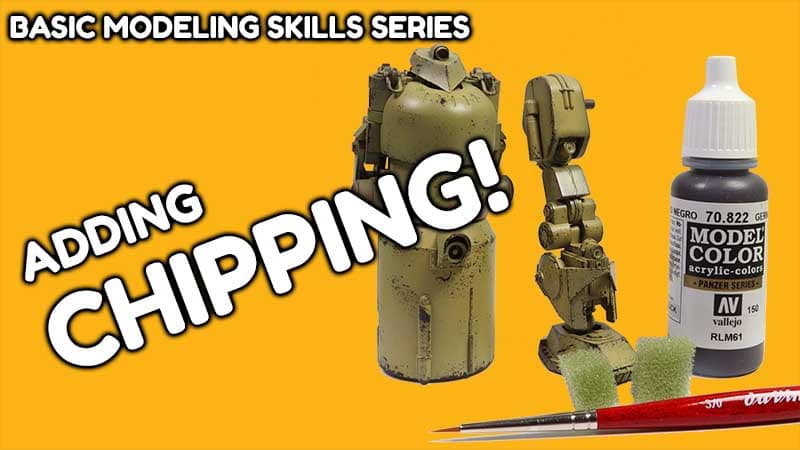
First, I demonstrate what I think is the easiest method to start with, and that is sponge chipping. Just about any small section of sponge will work, and with just a little bit of paint on the sponge, chips can be easily added. The degree of chipping is easy to control simply by the amount of pressure used in application.
Another method demonstrated is drybrushing. While this may not be typically thought of as a chipping effect, the choice of color is what makes the difference. This allows for very fine, subtle chips to be applied, but it is quick and easy.
Brush chipping is the most precise and delicate method of those I demonstrate. it’s a bit more time consuming, and generally takes some practice to refine to the point that excellent results are achieved. But no other chipping method allows for the level of precision brush chipping affords.
Finally, I demonstrate using hairspray (or chipping fluid) to get a chipped effect. While this method also takes some practice to refine, it is the most realistic because it is actually chipping!
For more weathering resources, check out my Weathering Scale Models playlist on YouTube, or the Tutorials section of this website.
Leave a Reply