
Lately I’ve been on a bit of a Spanish Civil War reading “kick”. I had been discussing the subject with a friend, and he asked a question that I realized was fairly fundamental to the history of the conflict – and I didn’t know the answer. And the answer I guessed was wrong. I decided I needed to read a bit more to fill in the gaps in my historical knowledge.
Of course, as a result of that, my interest spilled over into my hobby work, and I decided to build some aircraft used in the Spanish Civil War.
Two types immediately came to mind: Polikarpov’s diminutive I-16 fighter, and Messerschmitt’s Bf-109 series.
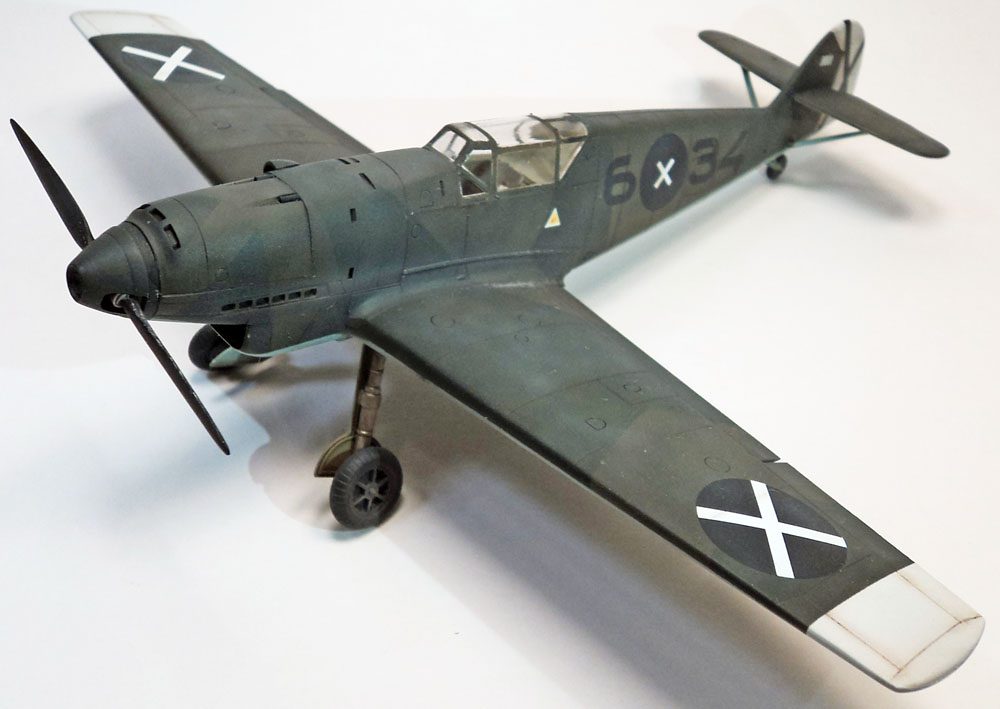
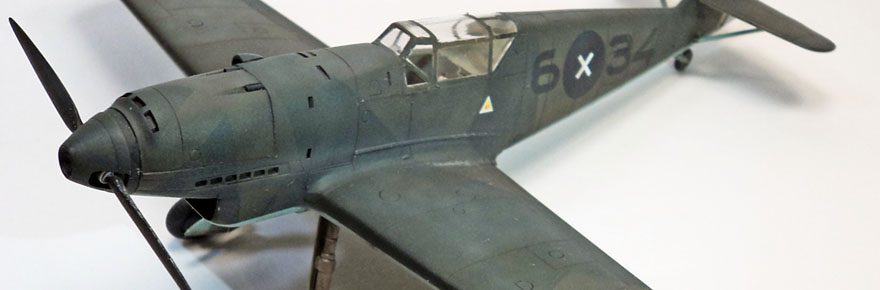
Typically you see Spanish Civil War 109s in a light gray scheme. In fact, my original plan had been to do just that. However, after finding photos of a darker, splinter schemed aircraft- and realizing I had decals for it – the decision was simple enough.
For the kit, I chose Hobbycraft. Mainly because that is the only kit of the Bf-109B I am aware of.
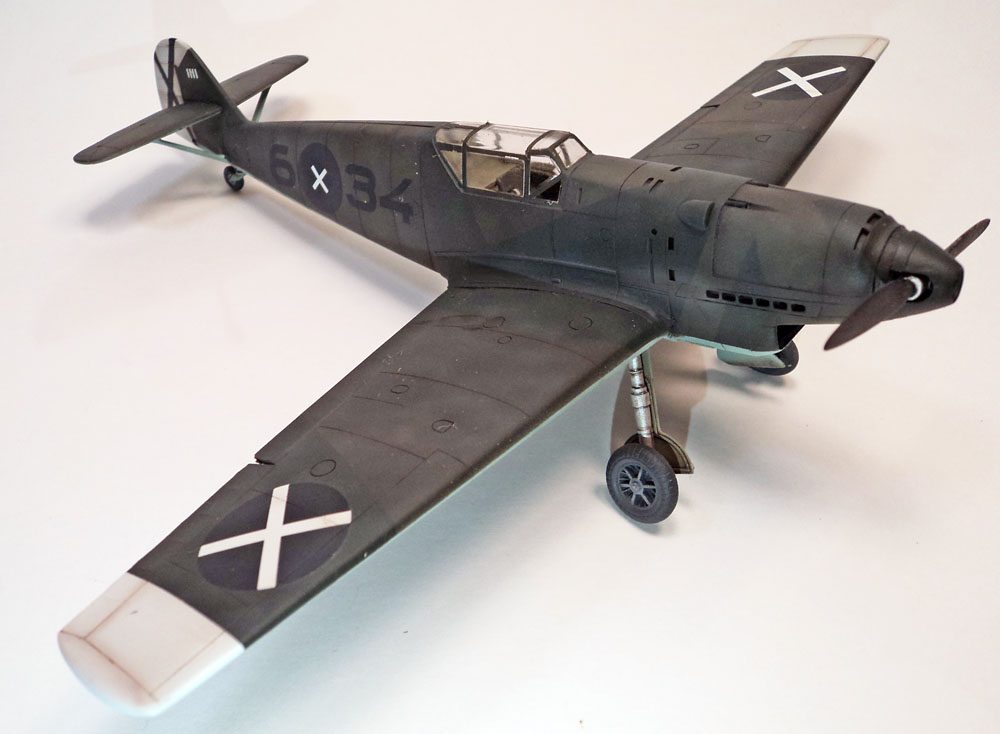
As with most Hobbycraft kits, the interior detail is very simple. However, as the canopy is a single piece job, and I didn’t feel like cutting it open, simple was good enough. I did use an Ultracast seat, as I figured that would be visible enough, and so a nice seat would help things out.
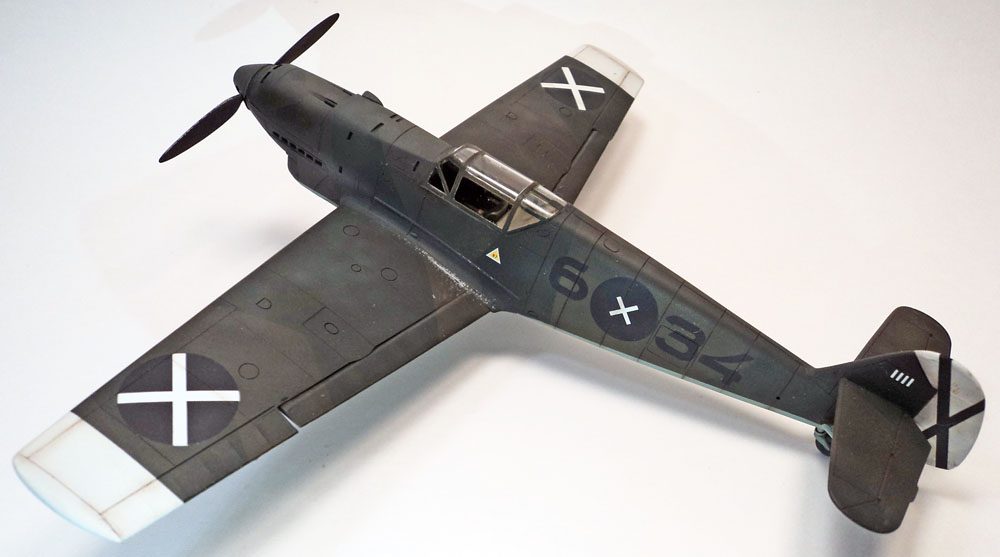
Assembly of the fuselage and wings was easy enough. Except for a little filler at the aft wing/fuselage join, and sanding away the glue seams, everything joined up perfectly.
I did find that the struts for the tail planes were too long, and if you mounted them in their mounting holes, the resulting tail dihedral was very, very noticeable. And a bit comical.
Figuring that the fuselage placement was close to correct (or at least hoping it was), I simply cut off the little mounting pins that joined under the tail planes surface, and glued them in where the landed. (Making sure to fill in the small dimple they were supposed to originally fit in first!)
The paint was simple enough. Based on some helpful information from Lynn Ritger, author of The Messerschmitt BF 109 Part 1, Part 1: Prototype to ‘E’ Variants (Pt. 1), I used Tamiya XF-27 Black Green, XF-61 Dark Green, and XF-23 Light Blue to represent the RLM 70/71/65 scheme.
I do wish I had lightened the paints up just a bit, if only to show a bit more contrast. In lower light, it all looks one color. Nevertheless, I think it’s a cool scheme.
Decals went on, then some post shading and fading, oil washes, some chalks and finaly some paint chipping with a Prismacolor silver pencil. The final dangly bits were glued on, and I called it done.
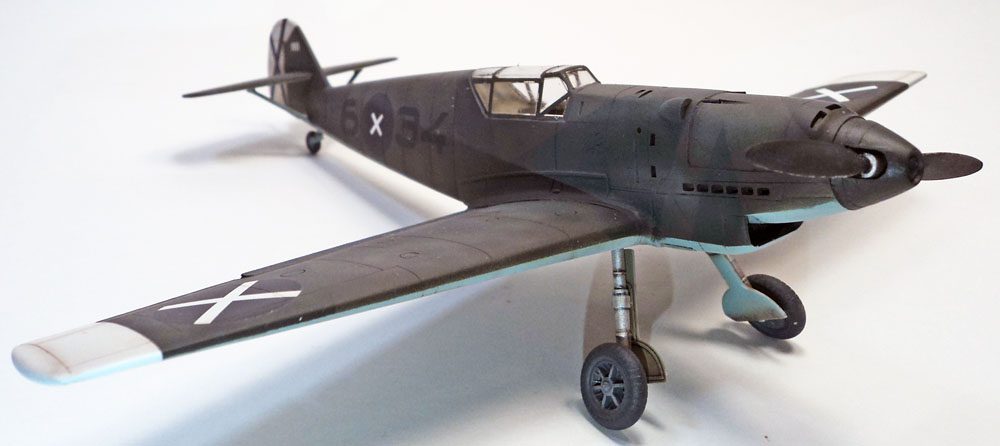
While this kit won’t win awards as the most detailed 109 on the market, it is certainly a fun, trouble free build. I highly recommend it!


Leave a Reply