I’ve always liked the color red. Not that it’s my favorite color, really, but in certain places, I do like it. One of my favorite cars of years gone by was a 1986 Nissan 200SX, finished in a slightly dark red. Though not designed to be a true sports car, it was quite peppy, and cornered nicely. In my college years, I may or may not have exceeded some local speed laws, and in doing so (if I had actually done so), I felt it looked quite cool in my angular red car, the sound of Van Halen streaming from the speakers.
I always thought the Red Baron was cool too. Not so much the historic Red Baron…. I tended to favor the Snoopy incarnation. Of course, he was never actually seen… the only real evidence of his existence being the bullet holes in Snoopy’s doghouse. Sometime in my youth I did build a Revell Fokker Triplane, and I tried to carefully paint little dog houses down the side as though they were “kill markings”. In truth they were a bit sloppy, but 10-year-old Jon thought they were quite cool.
As an adult, red played a part in my Army career, as I was quite proud to wear the red (well, maroon) beret of the US Army Airborne forces. I still sneak it out of the closet from time to time and place it on my head, one side draped low over my eye. And my current car is red, though not nearly as sporty as my old Nissan. Nor anywhere as clean. In fact, you’d be hard pressed to know its red… but underneath the grime it is there – bright red. (I tend to view it as a “weathering experiment.”)
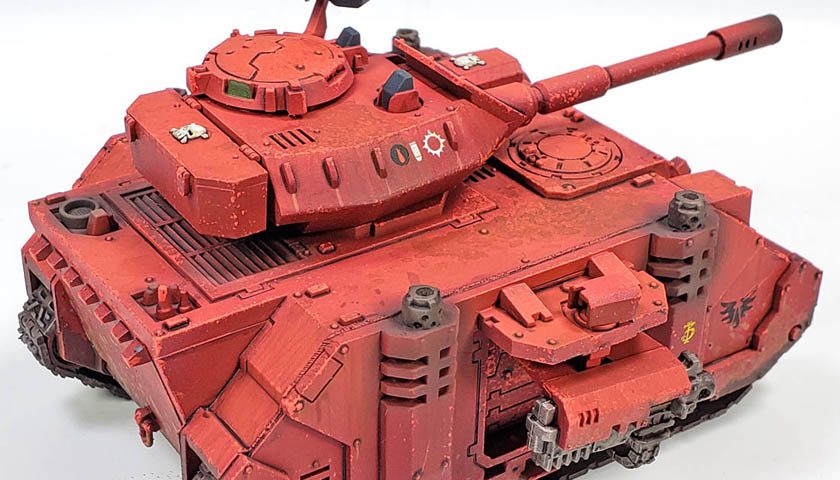
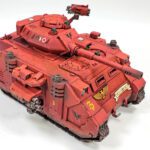
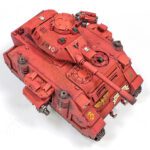
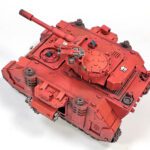
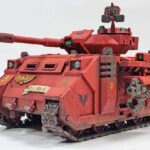
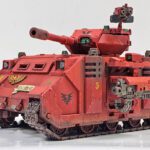
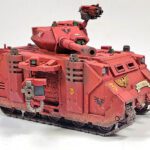
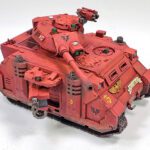
So when deciding what color to paint this Predator, I opted to depart from the box art’s blue color, and go with a favorite color of my own, simply for the “flash” element of it. To heck with tactical realities! 😀
Adding The Paint
After getting the interior completed, and priming the exterior, I gathered the paints to give the Predator its red color. I’ve always liked a slightly modulated look on the armor I build, so I picked colors accordingly. The reason I say “slightly modulated” is because I am quite prone to over-modulate… I can’t seem to hit an in between point. So I go for subtle… which may not really be seen at all.
But it sounds impressive.
The first coat of paint was applied all over the model using Vallejo Mecha Color Dark Red. I really like this color, and actually considered leaving it unmodulated. However, I ultimately pressed on.
The first “modulation color” was applied using Vallejo’s Model Air Red. I sprayed this on from an almost flat side angle, as I wanted the darker red to essentially form the shadows. I did shoot from higher angles to fully cover the horizontal surfaces, but along the sides I never dropped below what I’d guess to be about the 20 degree angle, roughly.
Next in the modulation was another Vallejo Mecha color, SZ Red. This is a brighter red, and though it’s not at an extreme contrast with the previous red, it did brighten things up a bit. This was sprayed from a much higher angle, making sure to stay greater than 45 degrees all around. In a few areas that were horizontal, I made sure to get the paint up to full opacity. Along the sides, I concentrated on the upper half of the vertical surfaces, which allowed a slight gradient to be built up.
The final color was Citadel’s Wild Rider Red, a very bright red, just bordering on dark pink, with maybe a hint of orange. This was thinned a bit heavier than would normally be used for full opacity, and the color was applied to vertical surfaces only, to really build up the brightness.
Over the top of this modulation, a gloss coat of Pledge (Future) was applied.
Marking It Up
Warhammer decals in most kits are a bit odd. Virtually every vehicle box has decals for either the Astra Militarum (the green soldier dudes), or the blue Ultramarines (Indianapolis Colts). Unless you purchase a kit that is specifically for another faction, other sources must be found for additional markings.
I’d ordered a set of Blood Angel decals a few months ago, having found them quite by accident. The Blood Angels are another chapter of space marines, sort of like the Ultramarines. the major difference between the two being their choice of primary colors for their camouflage paint. Otherwise they’re angry, yelling dudes in a grim, dark future, where there is only bright colors I suppose.
Anyway…
I applied a few of the decals around the model. Citadel provides no real placement guide, leaving it entirely up to the modeler to decide what goes where. When I first encountered this in my initial 40K builds, I felt a little lost. As an old aircraft guy, I kept wanting to know “where do they go?” But a brief perusal of the interwebs showed they can go anywhere you please, thank you… so I adjusted quickly. My method now revolves around two questions: Does it look cool, and Will it fit? It certainly makes things simpler.
With the decals on, more gloss coat was applied to seal them in.
Women And Children First
The weathering started with a panel line wash using Vallejo’s Weathering Effects Petrol Spills. This is essentially a gloss black, and is a spot on twin for Citadel Nuln Oil… only with more product in the bottle, and it’s cheaper. I applied this somewhat neatly. I didn’t slop it on, yet I was not very fussy about avoiding some spillover here and there, as I’d simply use that to inform later chipping and staining.
After applying the wash, I began the chipping process. I considered several colors, but ultimately decide on the Citadel Wild Rider Red. Initial application was with a sponge, and though I wanted the model to have a weathered, worn appearance, I didn’t want the chipping to be the primary feature of the finish.
Too often I fall into the trap of chipping things very heavily right off the bat, and then later facing the dilemma of either having a sadly over chipped vehicle, or being forced to add so much more additional weathering to balance it out that the final product looks like a rusted hulk.
It reminds me of a story I once read Eddie Van Halen telling. When he’d get together with other people to jam, people kept playing louder and louder to hear themselves over everyone else. He’d reverse the process by asking everyone to turn their amps down so he could hear his own playing. Of course, him being EVH, they did.
So I sort of took that approach. Instead of turning up the later weathering, I turned down the chipping. When I did finish, for the most part, I was happy with it.
Streaks And Grime And Stains, Oh My…
To start the final weathering elements, I began applying various streaks all across the model with Vallejo Washes. The colors ranged from a light tan to a dark brown, and I even threw in a dark rust color.
Application started with the lighter colors, streaked on with a #0 liner brush. The washes were first applied highly thinned, and then as I proceeded, gradually built up. This gives a much greater degree of control over the process. I do recommend allowing a few minutes to dry for each application, so that you can observe how the wash changes from wet to dry. I worked in sections, so the first area was a bit of an experiment that drove how the rest of the vertical surfaces were treated.
Each color was added over the last, though at times I did return to a previous color where my eye thought a boost was needed. I tend to apply later layers thinner and thinner, so as not to cover up the early layers. By using the highest contrast colors first, the later darker colors will show well, yet still allow the first application to show through.
On the horizontal surfaces, the washes were heavily thinned and stippled on. Some areas were small patterns of little “dots”, while others were built up into full stains. While the side’s streaks were intended to represent grime washed down due to rain and other environmental effects, the horizontal surfaces modeled the dirt and grime that would result from the crew walking about the tank’s upper surface. For those areas I focused more on the grimy brown colors.
More stains were added using various fuel and oil colors from the Vallejo Weathering Effect line. These focused on access hatches, vents, panels that might have hydraulic or oil lines inside, and basically any place I imagined fluid stains would appear. In a few places I even slopped it on to suggest something being spilled on the tank.
Muddy Waters
The final major weathering step added in the mud around the tracks and lower portions of the hull. The same washes that had been used earlier were dabbed on straight from the bottle – unthinned – to create a much heavier staining. Once again, I went from light to dark, as I felt this best simulated the under layers of dirt being dried and lighter, and then later layers being darker and a bit more wet.
The final layer applied was a mix of Citadel’s Stirling Battlemire, a dark brown, heavily textured “paste”, thinned with Vallejo’s Model Wash European Dust, a lighter brown color. While I did not want a heavily textured load of mud on the model, i did want some lumpiness to appear as darker, fresh mud. I thought the two products worked well together.
The final weathering step was to airbrush on some exhaust and soot staining, using a 2 to 1 mix of Tamiya NATO Black and Hull Red. This was heavily thinned with alcohol, and then built up around the exhausts, gun barrels, and other vents. Everything was then sealed in with Vallejo Mecha Color Matt Varnish.
You Red That Right
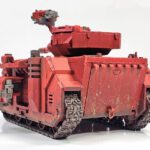
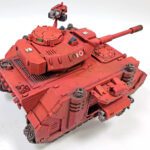
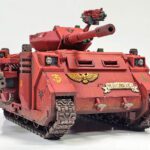
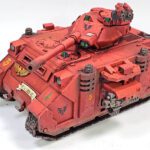
I’m really quite pleased with the result, though I know there is room for improvement. While I’m comfortable with getting cooler blues, greens, and tans weathered, this red color was a bit of a challenge. While red is not a particularly opaque color in most of its modeling forms, it is a powerful color, with only a little being needed to really show up. Layering red on red on red forced me to do a lot of experimenting, some trial and error, and ultimately – learning and growth.
It definitely stands out, with so much red color present. It just screams for attention. I don’t know that I’ll build a lot more red vehicles, but I do plan to make a few more down the road.
The kit itself is typical Citadel – clean up the mold lines, glue it together, and get to painting. It’s a no fuss, easy to do, and quite fun build.
Of course, now that it’s built, there’s only one thing left to do.
Drive it around the Mancave really fast, while Van Halen blares, searching for a grim, dark doghouse to shoot down.
Why?
Because RED! 😀


Leave a Reply