

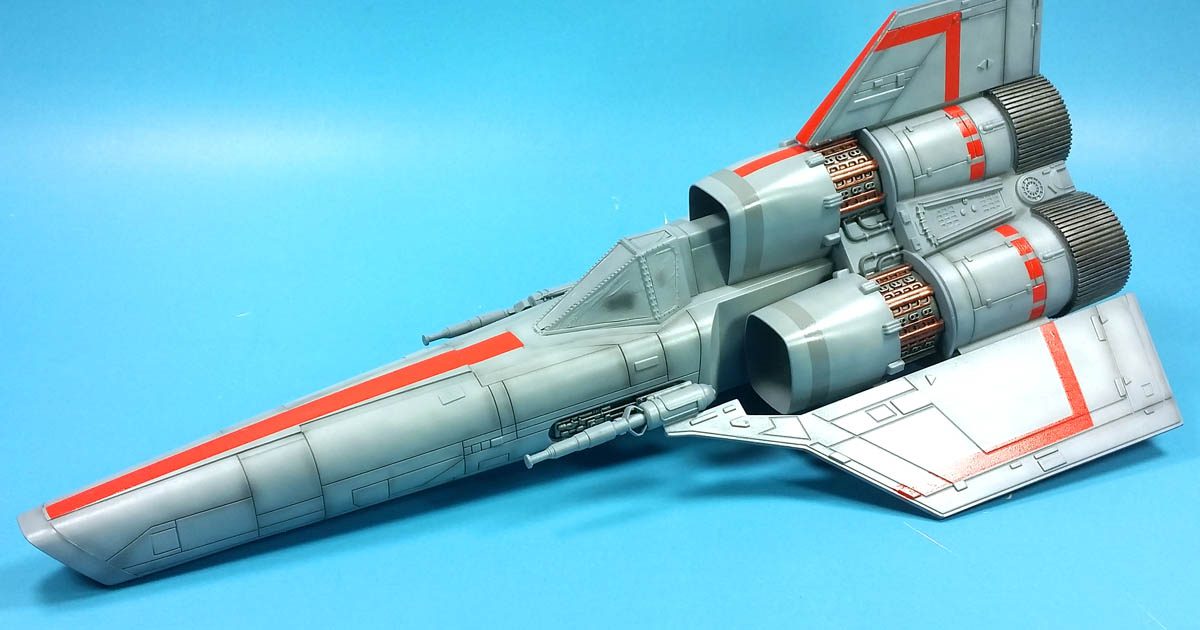
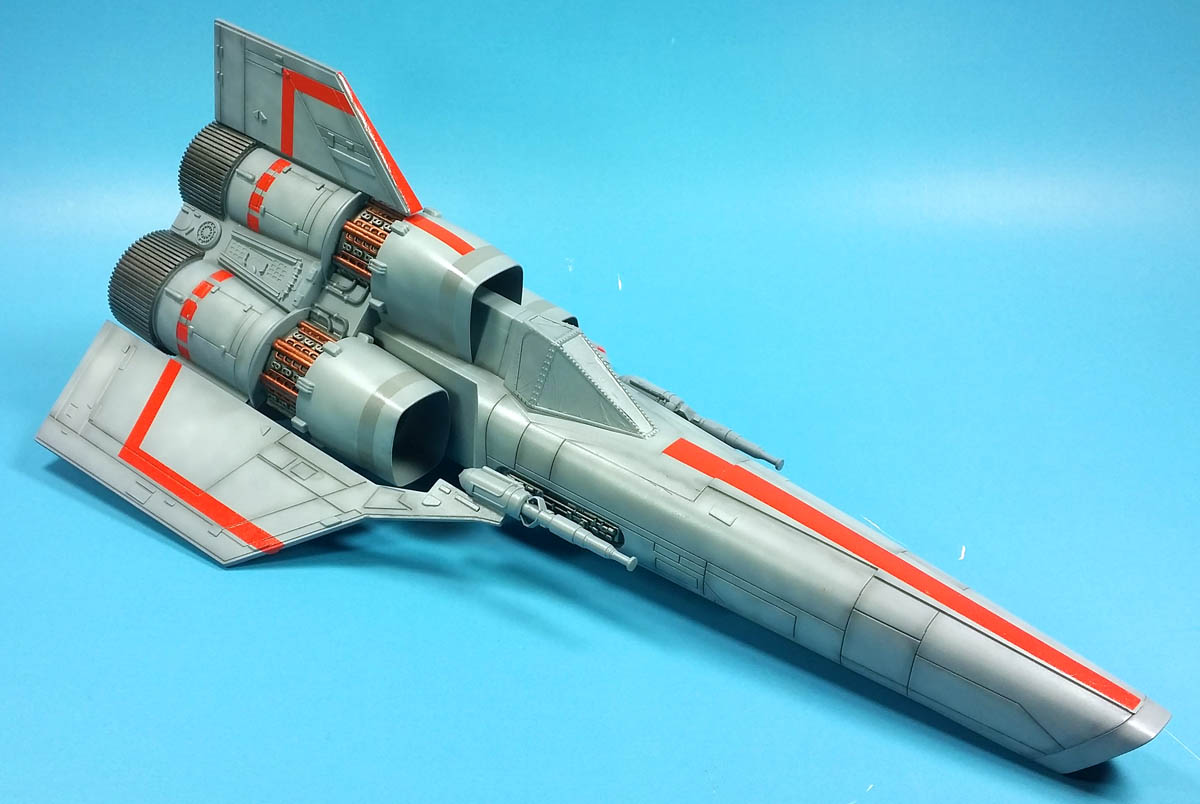
With the paint and decals on, the Moebius 1/32 Colonial Viper Mk. I from Battlestar Galactica is ready for weathering.
After priming with Badger’s Stynylrez Gray primer, I began adding misted coats of Vallejo Model Color Sky Gray (70.989), thinned with my own home brew of what is essentially Vallejo Airbrush Thinner. I didn’t go for total coverage, but rather tried to leave some of the darker gray primer showing through on the panel lines, and also to have a bit of “patchiness” over the surface. It mostly worked. 🙂
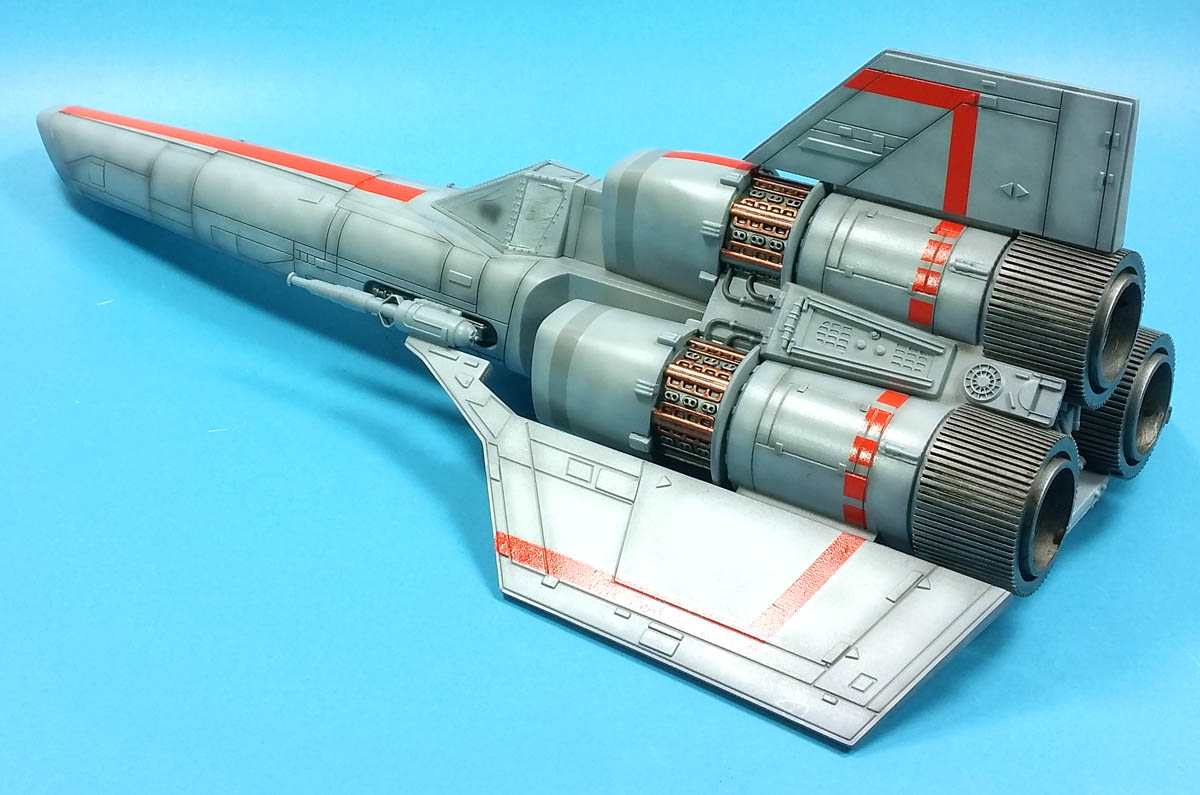
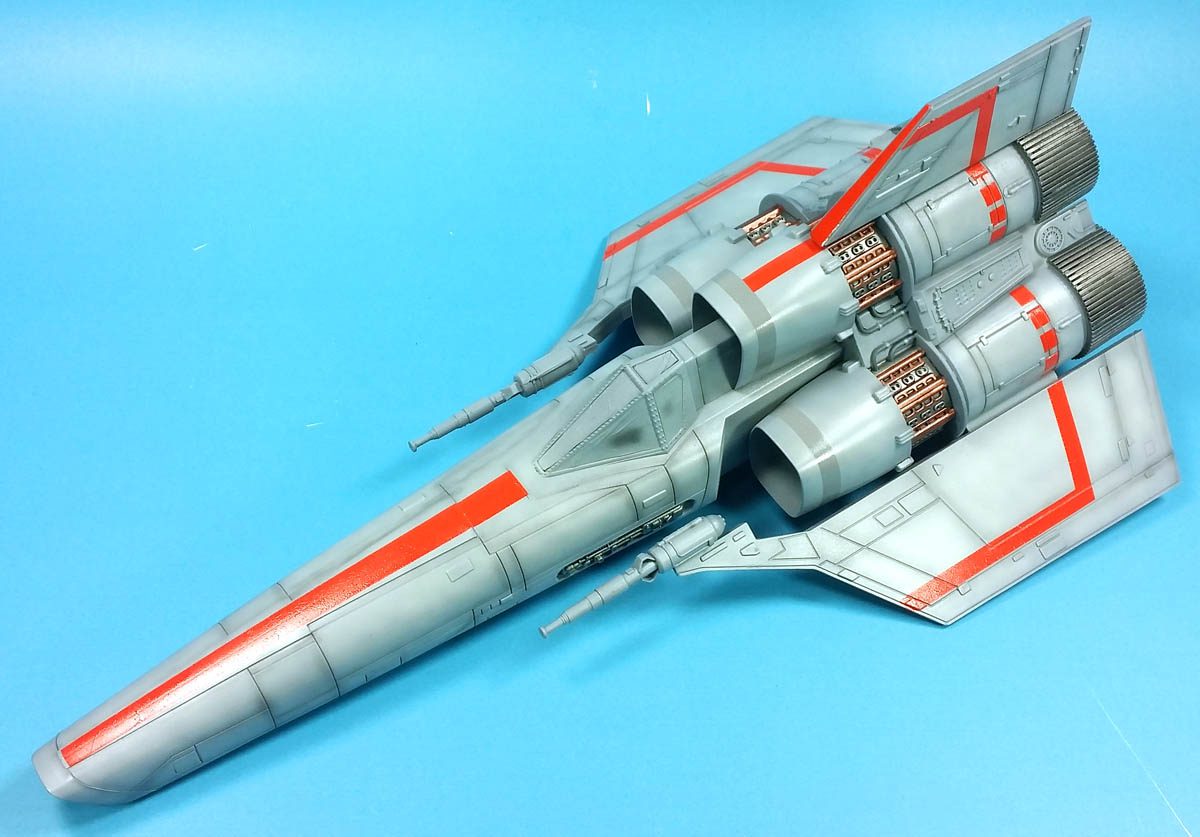
The exhausts nozzles and open engine bits along the side were painted with Citadel’s Lead Belcher. The instructions called for some of the details in the side panels to be copper. Or brass. So I painted it with Ammo of Mig Copper. Or Brass. I honestly can’t recall which, and I’m not at home to check. So….. it was one of those two. (I always exhibit professionalism at its best! 😉 )
Regardless, those bits were painted in some metal acrylic thingy color. Afterwards, a very heavy coat of Citadel’s Nuln Oil was applied. Of that I am sure. (Nuln Oil is the Superman AND Batman of the shades. Agrax Earthshade is like Aquaman. It has its uses…. 🙂 )
With those painted and shaded, I applied several coats of Future gloss coat.
At this point, I had a decision to make. I could either use the kit decals for all the various stripes, and hope they fit and worked well. Or, I could mask it all off, and airbrush the striping. As I’d read in several places that the Moebius decals were not top notch, I decided to give masking a go. So out came the Tamiya tape.
The trouble was, I had forgotten how much I HATE masking. Even if it is a straight line, I somehow end up with the tape all over the place, lines going every which way, and generally making a mess of things. I’m not sure why I have such issues with masking off even simple areas. I think the culprit, in part, is a physical issue I suffer from. I’m not sure the correct medical term, but the colloquial term is “general goofiness”.
So after a few minutes of attempting to mask off the curves around the intakes, and a few bits on the underside, I decided that perhaps Moebius’ decals might not be half as bad as the masking job I was botching applying to the model. Off came the tape, and out comes the warm water and decal setting solution.
Happily, the decals performed flawlessly. The came loose from the backing paper easily, went down nicely, and could be adjusted with just a little extra water added to “float” them. And they responded wonderfully to Solvaset.
Unfortunately, the modeler did NOT perform flawlessly, so….
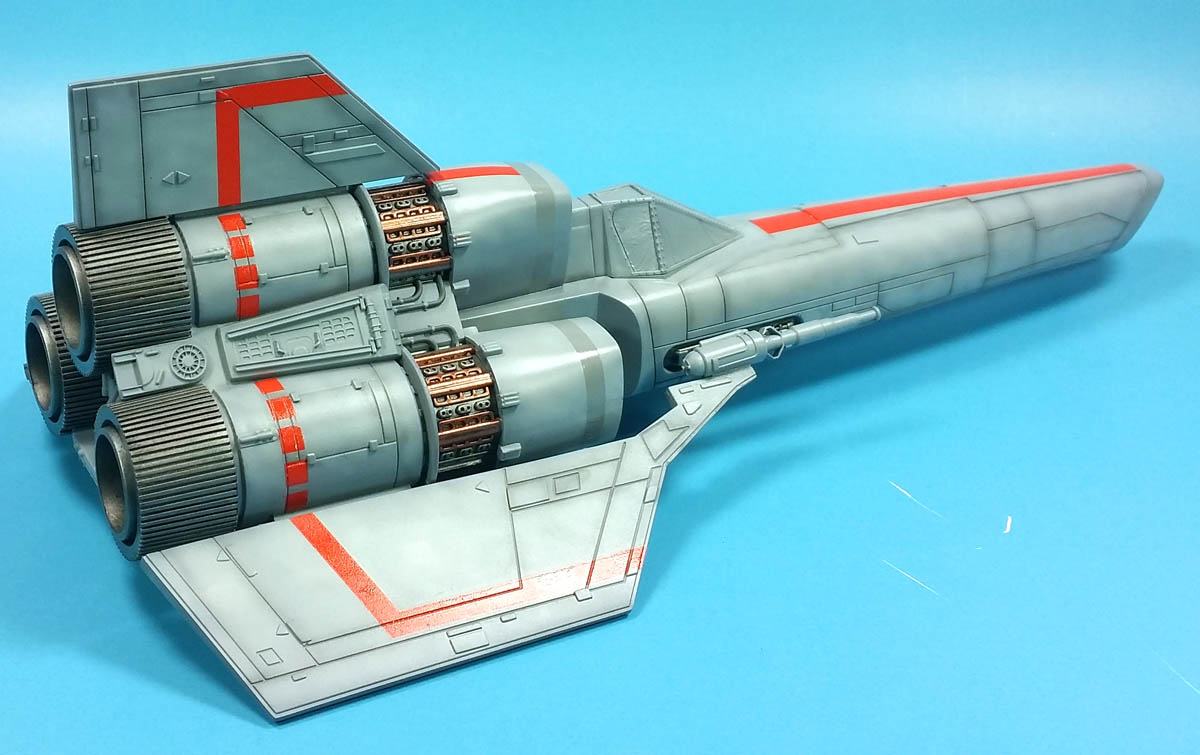
Luckily, there were plenty of extra stripy decals, so I was able to cut odd bits here and there and cover various gaps I introduced into what otherwise should have been nicely fitting decals, and the end result was not too bad, given the skillset of the modeler. (See photo, inset right.)
(Oddly, this is the fourth paragraph in a row that the first word in the first sentence ends in “ly”.)
Made you look, didn’t I?
Golly….
Anyway…
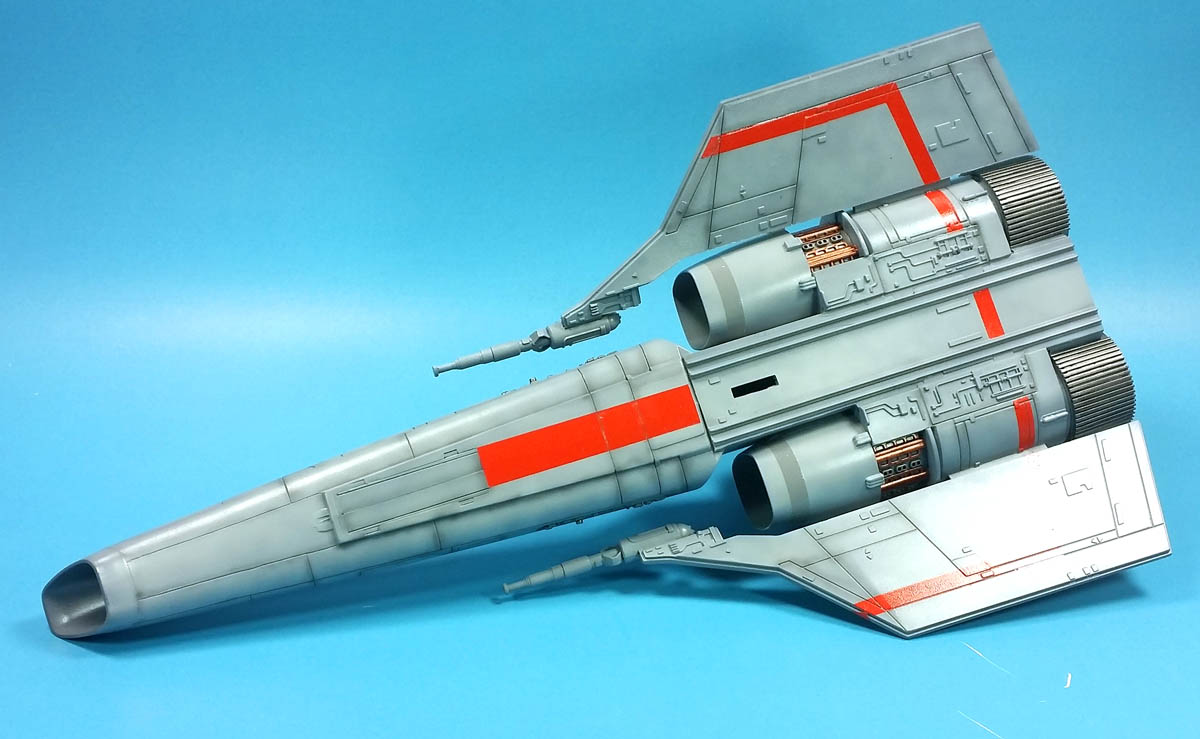
With decals finally on. I went back and sliced through all of the decals where they intersected panel lines, and applied a second coat of Solvaset. I also made small cuts in any bubbles or areas that they had not conformed to the various shapes on the surface, and applied Solvaset there too.
While it does not look as nice as a proper masking job would, given my historical lack of success with masking, and general laziness, I thought it turned out OK.
My next step is to apply some additional fading via airbrush, including the decals to tone them down a bit. Once that is complete, it’s on to the weathering. Lots and lots of weathering!
Leave a Reply