Academy’s Spitfire Mk. XIV is a perfect example of why sometimes it’s more fun to be a rivet estimator than a rivet counter.
The rivet counter sees the poorly shaped nose, the too deep fuselage, the odd spine of the aircraft. They look at it and say “it’s too far off. I’ll not waste my time.” And of course- that is a fine choice for them. It’s just a hobby.
The rivet estimator sees it and says “well, it’s not exactly perfect, but it’s the only thing really going out of the box (yes I know about the Hobbycraft kit, and its poor clone from Kitech… I built them too. No, I’ve not built the newer Airfix kit – that was not out when I wrote this. Ed.), so I’ll give it a go.” And the builder finds out that the Academy kit is actually a great little kit.
The problem, in my mind, is the message heard by the novice modeler. Often they look up to more experienced modelers, who tend to gravitate towards the rivet counting side. And when they say “Hey, this kit looks like it would be fun”, they’re instantly beat down about it’s shape.
But I believe most modelers just want to enjoy a build. They don’t join in flame wars about nun’s hats and cowl shapes and wing chord and the color of Lou IV. They just go pick up a kit and want to build it and for a few minutes not have to deal with taxes, bills, and their (likely) too high blood sugar and receding hairline.
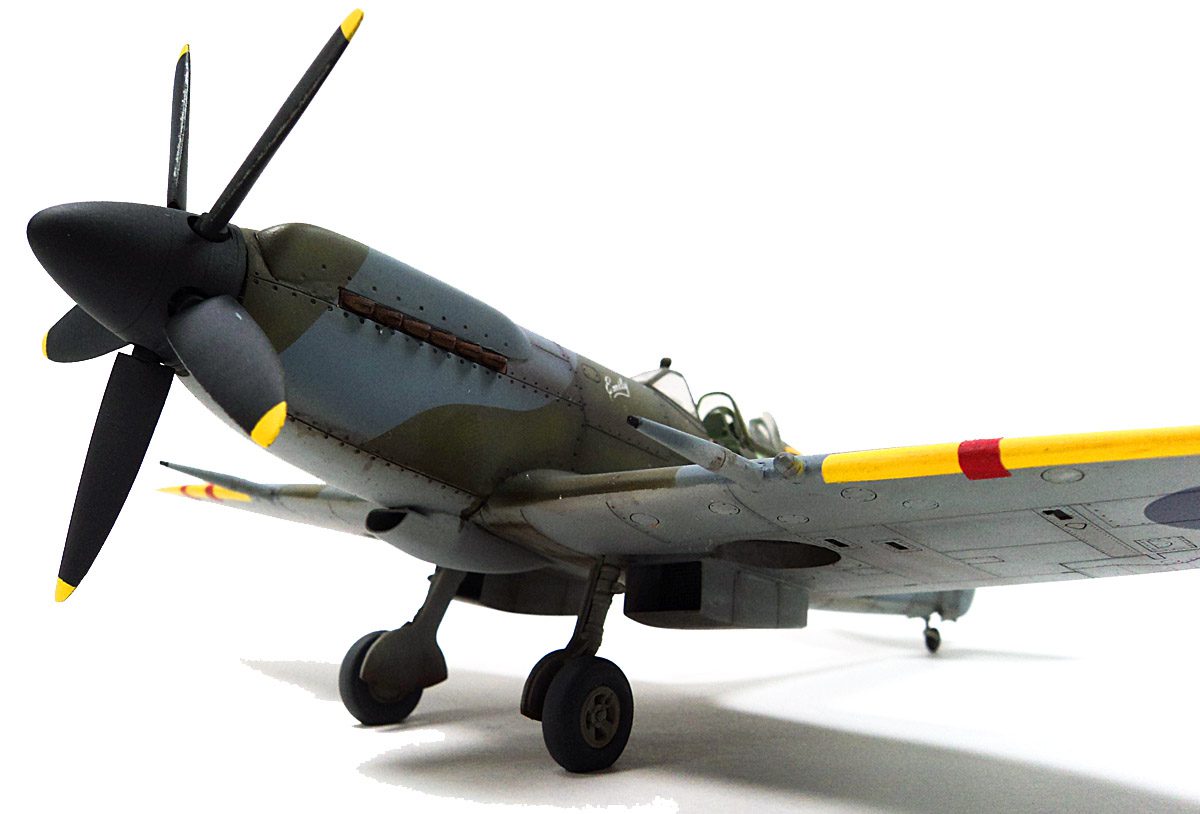
So, to finally reach a point to this minor soapbox speech- if you want to build this kit, build it for goodness sake. Yeah, it’s a bit onerous in the proboscis, but when built and painted, no one will mistake it for an aardvark or a banana.
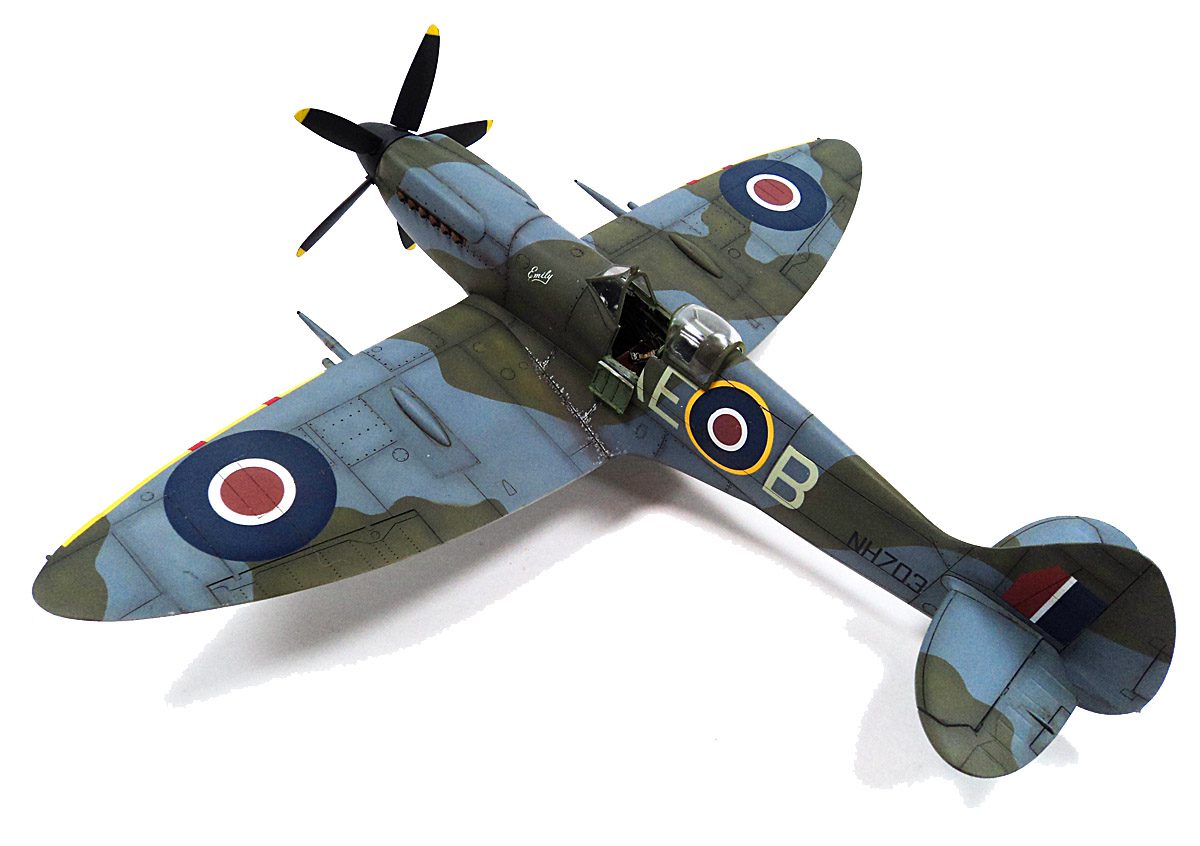
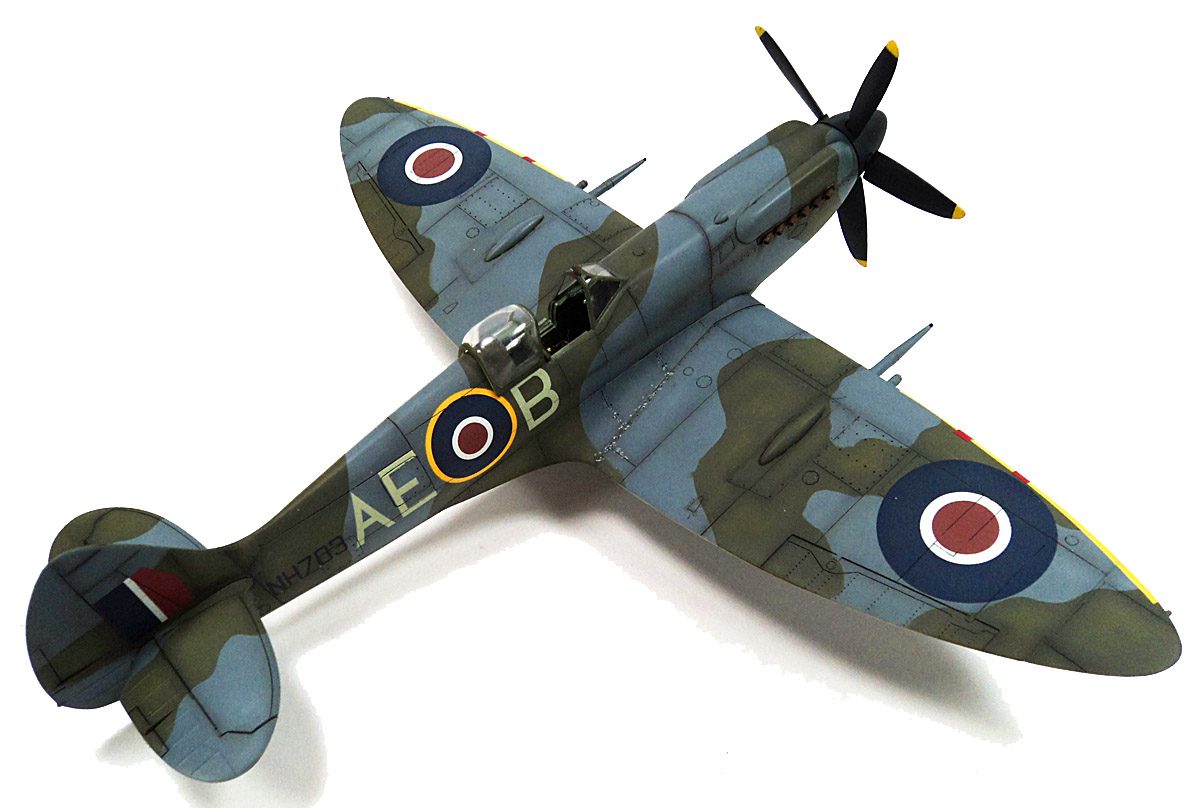
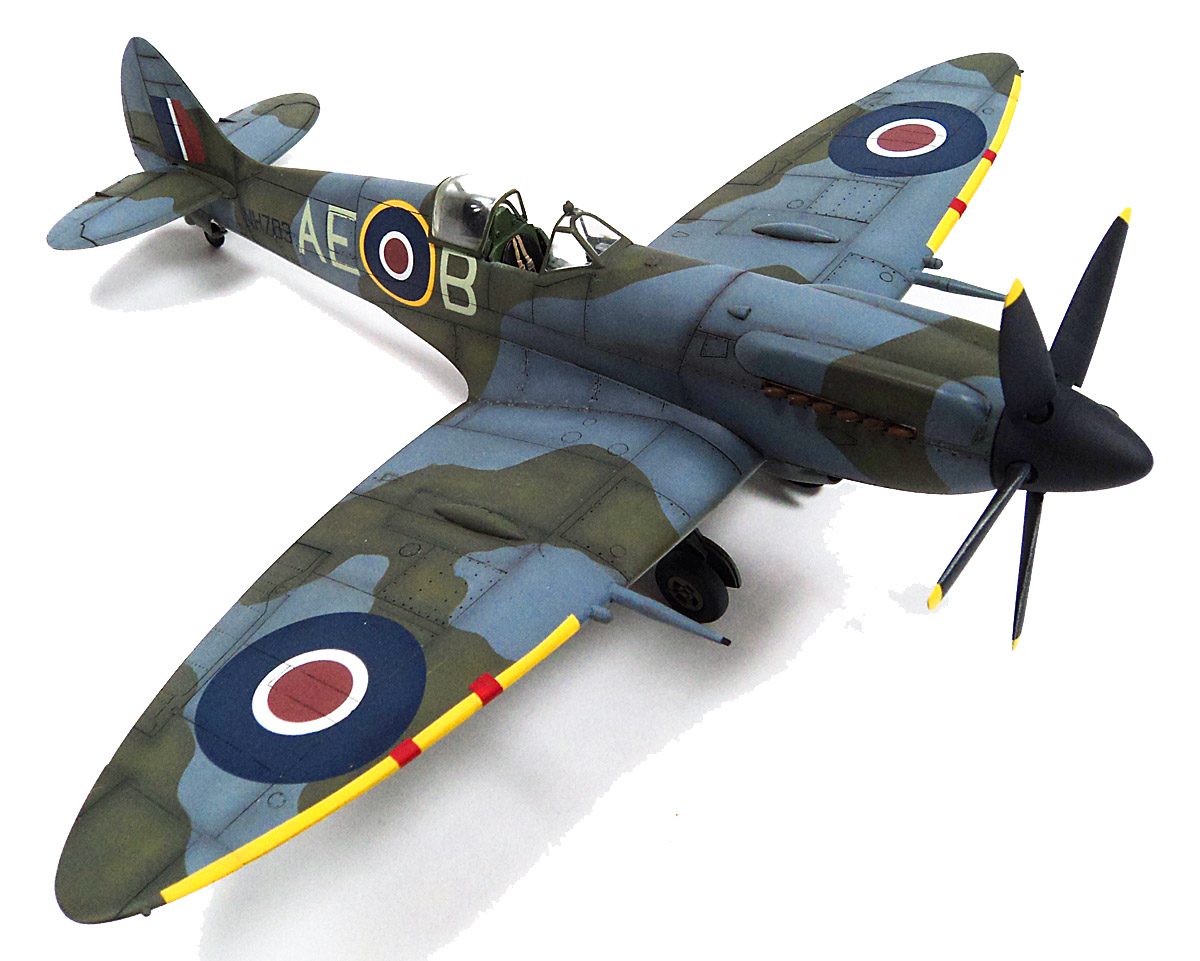
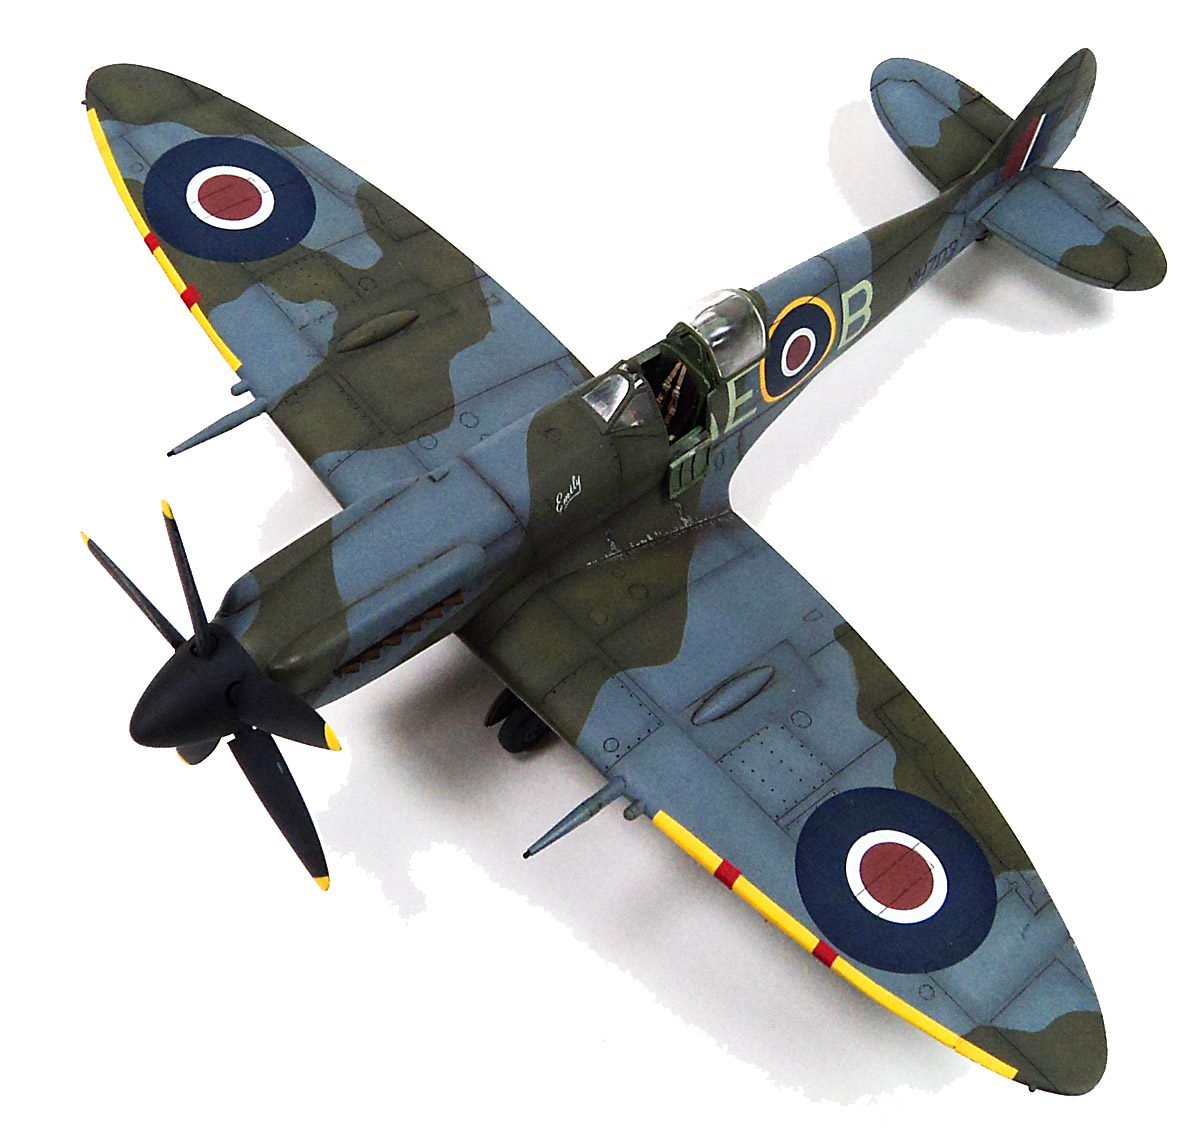
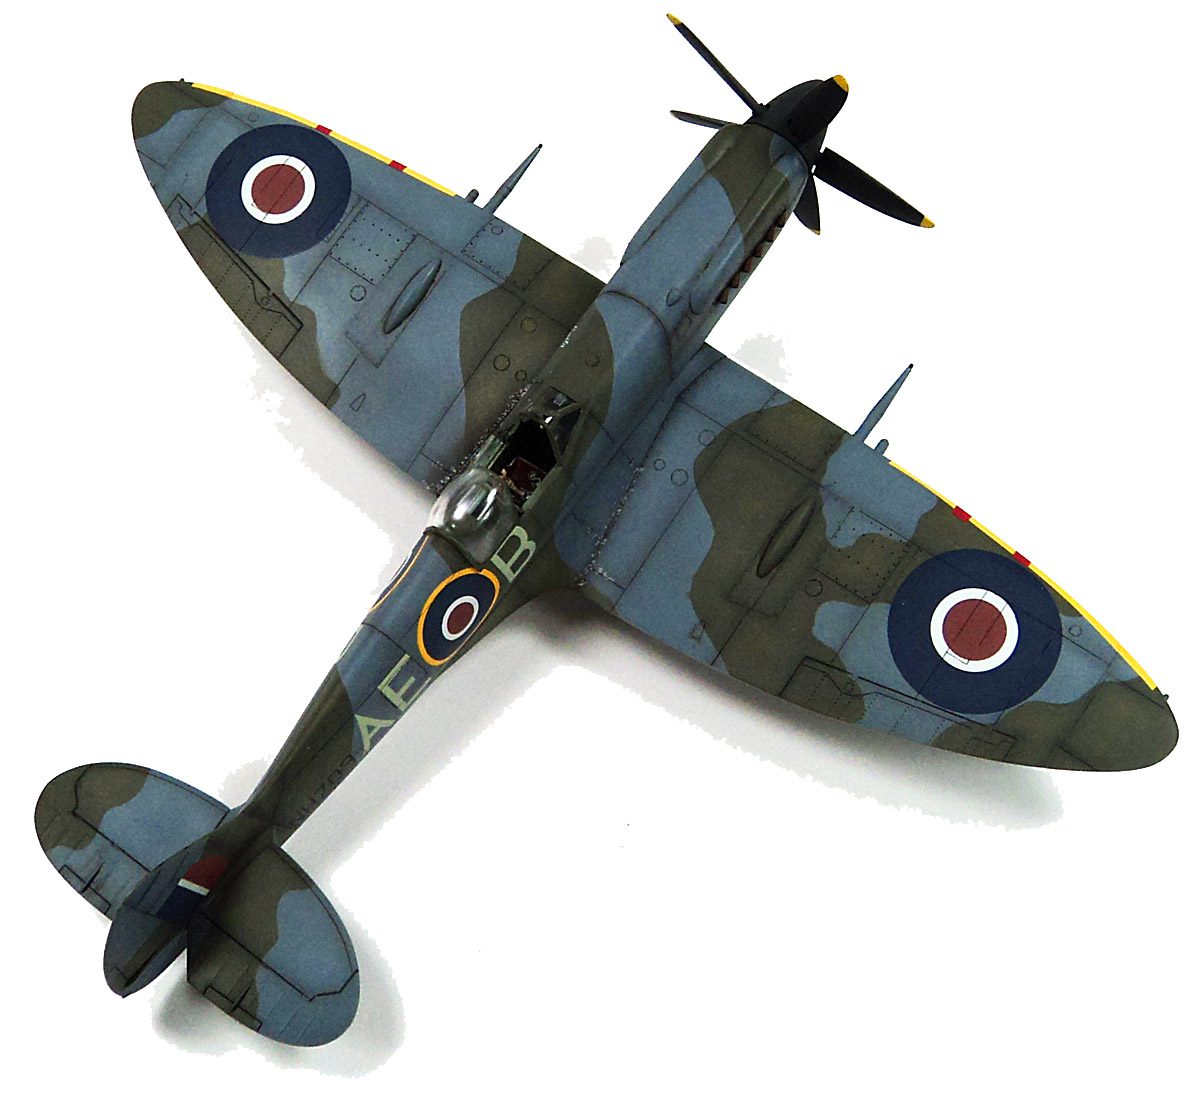
It’s a Spitfire Mk. XIV in 1/48 scale.
And a fine build it is.
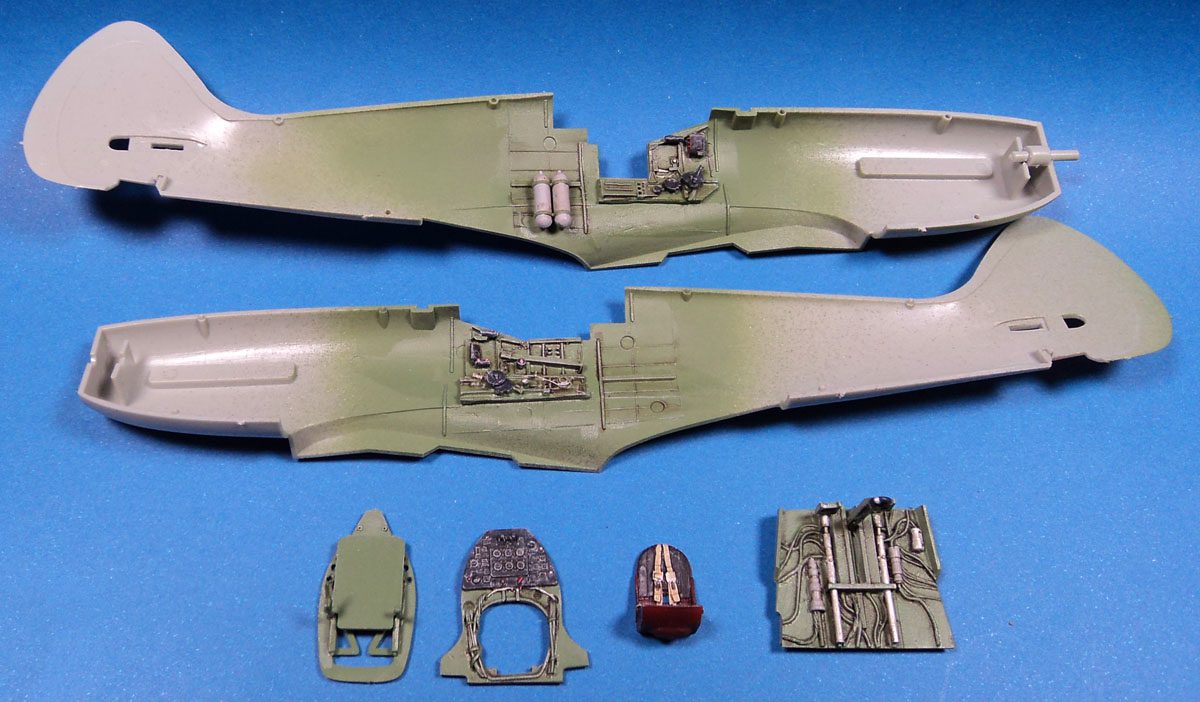
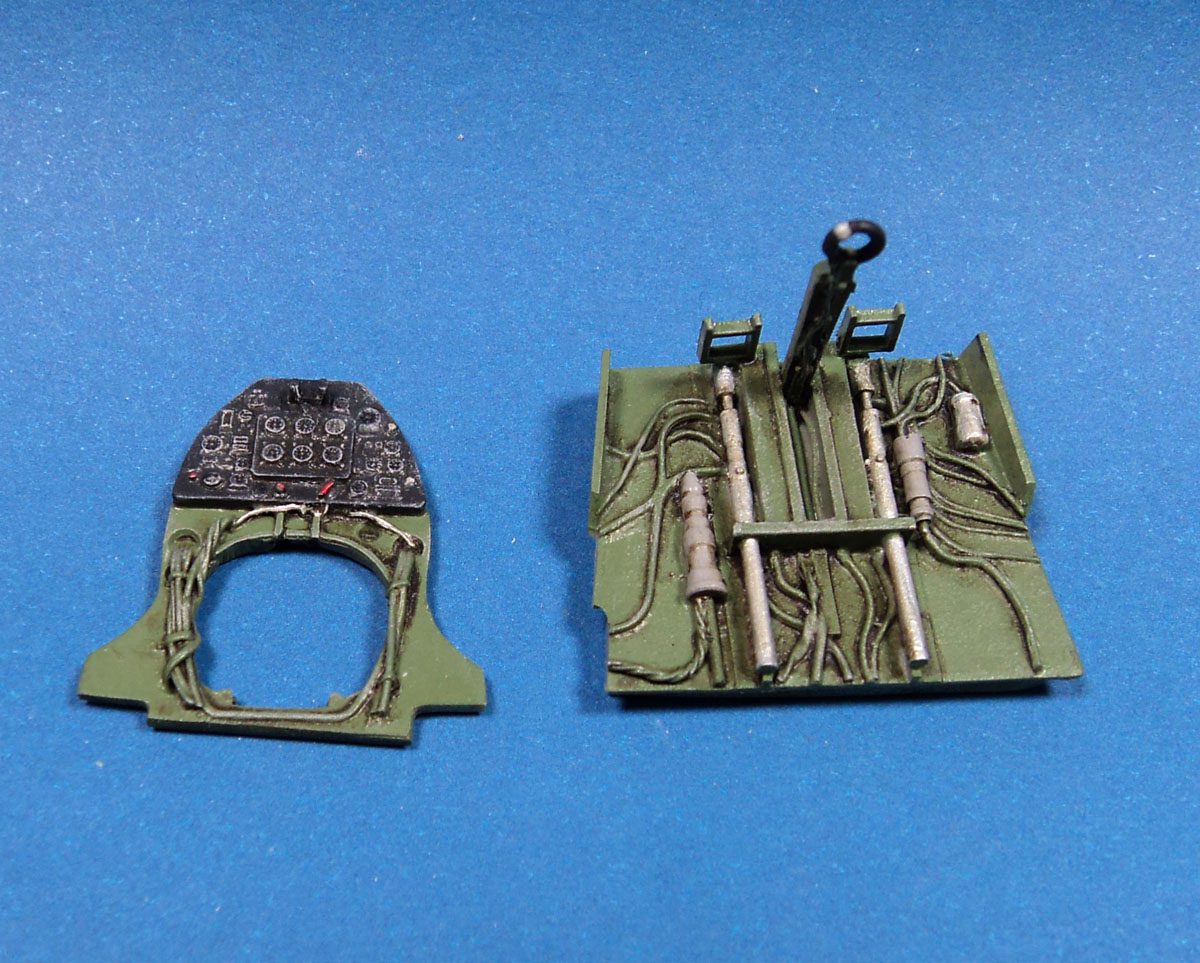
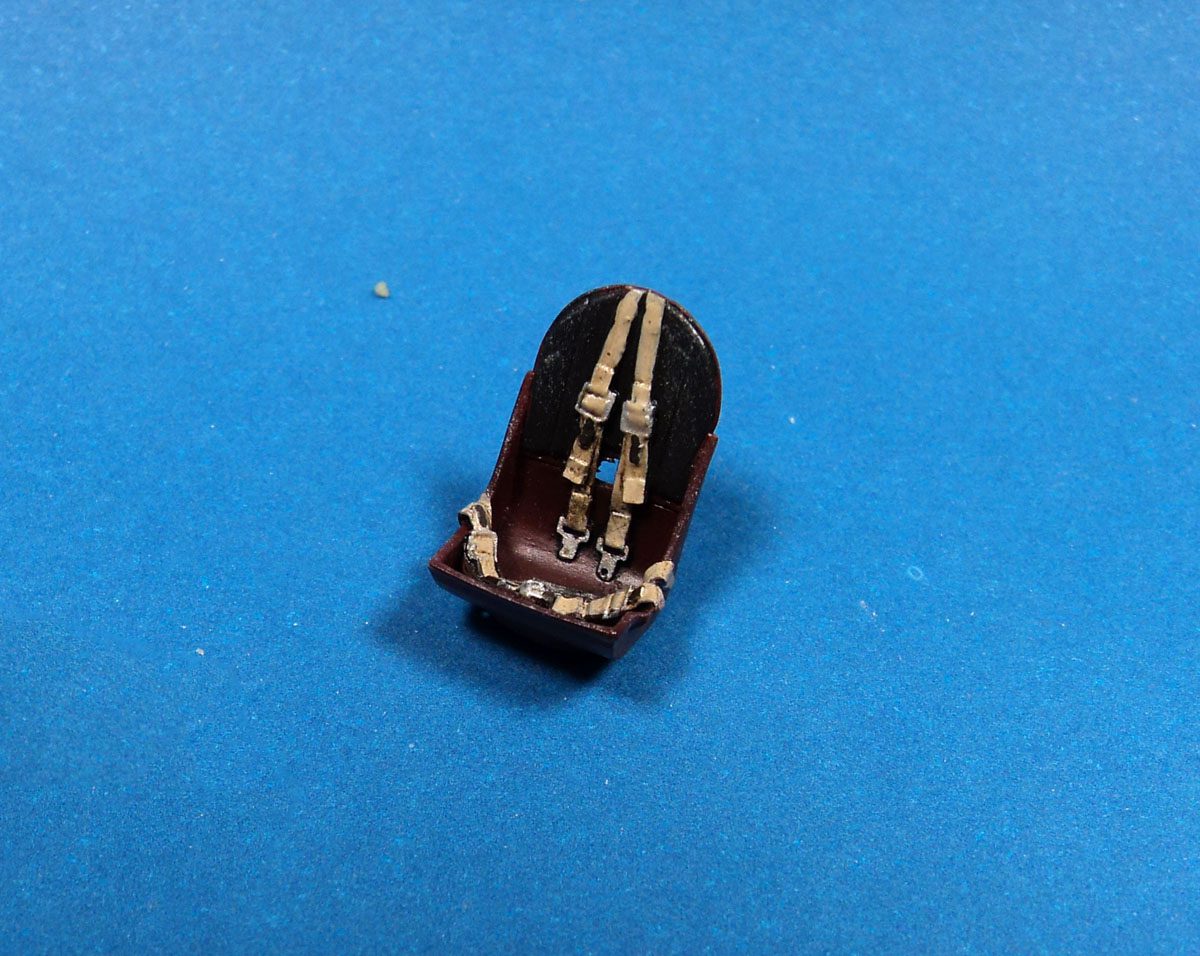
The cockpit is decent. It’s not Eduard’s latest, but it’s not old Airfix either. All the major parts are there, and reasonably represented. I swapped out the seat for an Ultracast one, because, well, they’re simply the best. Because this was a special build, I did use an aftermarket cockpit set, which livened things up quite a bit. But don’t let that dissuade you from using the kit parts!
All major parts were painted in Tamiya paints, the interior bits with XF-71, and the seat with XF-9. Various highlights were picked out with Vallejo acrylics, and Ammo of Mig washes were used throughout.
Assembly of the fuselage was a no drama affair. A bit of sanding along the seams, and all the join lines were hidden. The wing assembly followed suit, and joining it to the fuselage was near perfect. As with any Spitfire, the rear wing to fuselage join required a bit of attention, but nothing difficult.
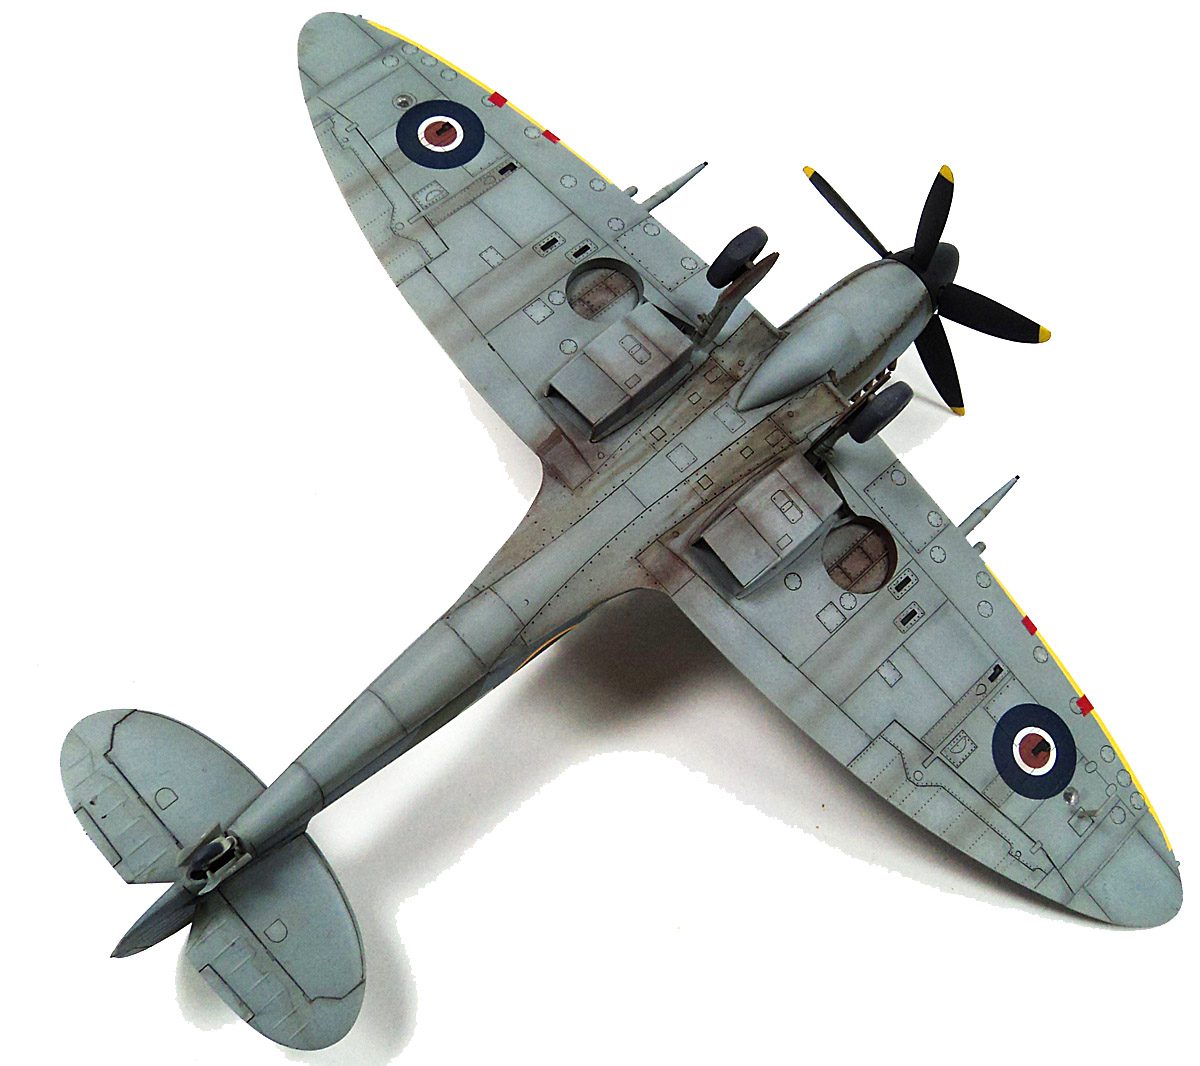
With tail planes slotted in place, and radiators installed, it was time for paint. Tamiya’s “Spitfire Trio” was used- XF-81,82, and 83. The undersides received a coat of XF-83, then after masking, XF-82 was applied to the uppers. Masking out the camo pattern followed, and XF-81 was added. Along the way, various shading and fading with dilutions of white and darker base colors were used to apply some weathering.
After paint, a nice gloss coat was added, then decals. An aftermarket set from Xtradecals was chosen, though for the life of me I cannot recall which one. Oh well….
With decals in place, some final weathering was applied, and then a flat coat. The dangly bits were set in place, and this one was declared finished.
It’s a decent kit, and can usually be found at bargain prices. Yes, the shape isn’t perfect. And if that bothers you, I don’t argue with that – don’t build it. Build something else. Or spend some time on a forum complaining or something. 🙂
But if you’re new to the hobby, or just looking for a fun, inexpensive kit to build, you’ll enjoy this one.



Leave a Reply