Recently, a client contacted me about a commission build of a 1/48 Spitfire Mk. Vb. I decided to use the Airfix kit for the build. However, I saw that I had a Tamiya Spitfire Mk I in my stash, and a spare Tamiya Vb wing and Vokes filter, and decided to build the two together and compare them.
To be honest, I could probably write this comparison without building either kit. Between each company’s Mk. I and V releases, which are very similar, I’ve built four of each. Two Mk. Is and two Mk. Vs from Airfix, and one Mk. I and three Mk. Vs from Tamiya. So to say I’m familiar with these kits is a bit of an understatement. (And to say I really, really, really like both is not a bit of an overstatement!)
Still, I thought actually documenting what I thought of each kit, and drawing some conclusions based on those observations, might be helpful. (If nothing else, it feeds my vanity to think anyone reads this stuff…)
So off we go.
Aside from a decent shape, generally good engineering, and decent fit, most modelers want a reasonably detailed cockpit in any 1/48 scale single engined fighter. And both of these kits deliver on that point. Though Tamiya’s Spitfire is around 20 years old (or more….) it does hold up well to the new Airfix kit.
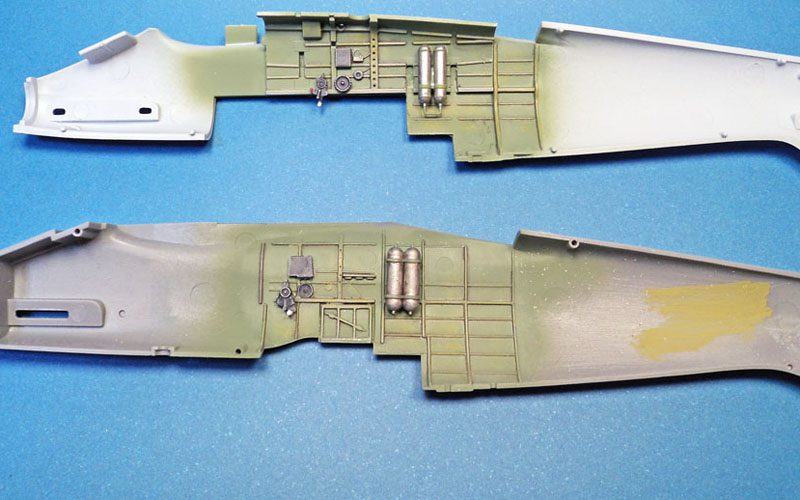
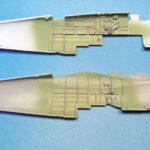
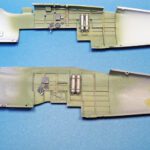
A comparison of the two sidewalls show that while the Airfix kit (top in both pics) is much more detailed, the Tamiya kit is not a slouch. And Tamiya gets a few details in that Airfix does not on the right side of the fuselage. Tamiya’s undercarriage lever is clearly anemic, and not well shaped. Both have good throttle parts. Certainly I’d give the nod to Airfix in this area.
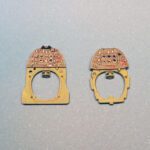
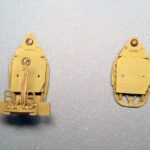
The other cockpit bits narrow the gap down a bit. (For all images, Tamiya is on the left, Airfix the right.) Tamiya’s instrument panel has a bit more detail, and I like it slightly better. I did replace the Tamiya compass with a spare Airfix one, as the Airfix kit’s is superior.
For the armor plate, there is a good reason they look alike- they are. I’m building Tamiya’s Mk. I as the base kit, and it does not come with seat or headrest armor. So once again I pulled from the spares box, again using Airfix parts. However, the Tamiya Mk. Vb DOES come with both seat armor and headrest armor, and it looks equally good.
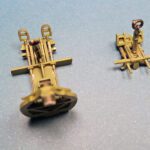
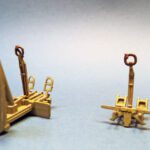
The “bottomless” floor, rudder pedals and control columns are a wash in my wind. While Tamiya’s is a not truly open like Airfix’s, as we’ll see further on, assembly is easier. If you clip off the top “loops” on Tamiya’s rudder pedals, they are bit more petite (I got lazy and left them on), though Airfix’s overall shape is a bit better. The fact that they are solid is a bit of a drawback. You could drill them out, I suppose.
The control columns both look the part. While Airfix’s is a bit more realistic in being two part, I prefer the simplicity of the Tamiya single part piece.
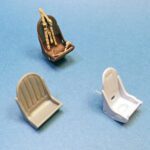
The seats for both kits don’t include any belts. The Tamiya seat is, well…. throw it away. It’s just sort of silly looking. The Airfix seat is much better. However, when it comes to Spitfire seats- I toss them all out and use Ultracast. In my opinion they simply can’t be beat in any way, shape or form. An example is shown with the other two seats for comparison.
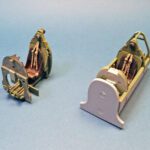
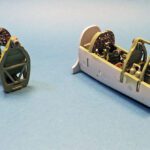
The finished cockpit assemblies show the different approach each company took. Tamiya’s assembly does not include the sidewalls as an integral part, while Airfix’s does.
And here’s where I have some minor heartburn with Airfix.
Now- I love Airifx. (You can sense a “but” headed your way, can’t you?) I’ve built more Airfix brand kits than any other brand, by a fairly large margin. And I’ve built *every* Airfix Spitfire. (Oh, this is going to be a huge “but”…. you’re saying to yourself.) So I count myself as a huge fan, if not an outright apologist.
But…..
(There it is….)
This cockpit is a bit too fiddly in my opinion. Yes, it is wonderfully detailed. No, it is not overly difficult. But I think it represents in a nutshell where Airfix still has room to improve.
Precision.
Granted- the Airfix kits of today are top shelf stuff. They are affordable, buildable, and quite enjoyable. Yet this Spitfire cockpit’s engineering requires parts alignment and fitting that seems to be slightly beyond Airfix’s ability to actually tool the parts.
For example- the instrument panel and two rear bulkhead parts must slot into the sidewalls in various notches. In every instance of building this kit (and this is my fifth go around with it), the notches in the sidewalls require some enlargement to get a good fit. Also, placing the rudder/control stick assembly in place just about requires three hands. And despite the various sidewall parts that should provide alignment, joining the two halves together is a delicate balancing act. (And I long ago gave up trying to get that flaps lever installed.)
Again- it’s not unbuildable. Far from it. I won’t even go so far as to say it’s a bad parts breakdown.
What is the difference maker is precision. If Tamiya were to execute this cockpit in exactly the same breakdown, it would fit perfectly. Each subsequent piece would provide a stable base for the next piece. And the fit would not be general- it would be exact.
I suppose the conclusion I am getting to on this aspect is Airfix would do well (in my opinion) to either create parts breakdowns that play to their tooling capabilities, or improve their tooling capabilities to be in line with their (appropriate) engineering ambitions.
Enough of that. On to the rest of this comparison.
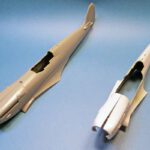
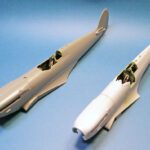
For both kits, I glued the aft portions of the fuselage together, inserted the cockpit tub, and then glued the rest together. The Tamiya kit (left) is designed this way. In fact, you don’t have to leave the front un-glued. It’s cockpit fits in place perfectly if it’s completely glued together. (Precision.) For the Airfix kit, while the instructions call for gluing the cockpit to one fuselage side, and then gluing the other side in place, I’ve found I prefer my method. The cockpit assembly slides in place perfectly, and the fuselage closes around it with no fuss. If you do encounter problems- check the cockpit assembly sidewall exterior for burrs around the ejection pin marks. That will make all the difference.
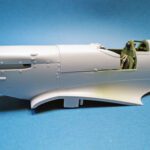
With the cockpits in place, and set side by side, both kits look as though they’ll become Spitfires.
One more note…. flogging the precision horse some more…
In order to facilitate various canopy and fuel tank cover styles, Airfix engineered the kit to have that part separate. For the wartime Vb option, part D33 is used. Plain and simple, it does not fit well.
Precision.
It is workable. But in the builds I’ve done, I’v been able to test cockpit alignment, sanding of protruding parts, warpage of part D33, and every other theory I could come up with. Yet in every case, the problem has been there. The part simply does not fit with the precision such engineering requires.
Now- I think I have found a simple, though not really elegant, solution. Glue and clamp one side, aligning it as best you can, and let it dry. Then do the same for the other side. Apply Mr. Surfacer or other filler to eliminate the cracks.
And leave it be.
It will stand slightly proud of the surface. But I’ve found that my efforts to try and sand and reshape the part generally end up with a part that looks like it has been sanded and reshaped. So for my tastes, I leave it alone and move along.
So there it is- far more than you likely ever wanted to know about the Airfix and Tamiya Spitfire Mk. Vbs and their interiors. If I had to give a nod, it would be to Airfix, and solely based on detail. If ease of assembly is a higher priority, you might prefer Tamiya.
Next up will be the wings… and oh those Airfix landing gear.
Precision….


Leave a Reply