
As soon as I think I have a pretty good grasp on the aircraft from the World War II era, along comes something new that solidifies my awareness of how little I actually know.
Such was the case with the Avia S-99. During World War II, the Nazis made use of armament factories in the various nations they attacked. In Czechoslovakia, the Avia aviation facilities were used to manufacture a variety of aircraft, including the Messerschmitt Bf-109G-10.
Once the war was over, Avia continued building the fighter for Czech use, calling it the S-99.
Because I rarely build German aircraft, and never in Nazi schemes, I was not sure what kit would be suitable for the build. A quick check on a few forums revealed that the Revell kit would be quite up to the challenge.
The kit is actually quite a little gem. The price is not bad at all- $13.95 at ScaleHobbyist.com. The kit features recessed panel lines, a simple but reasonable cockpit, and overall looks like the airplane it is modeling.
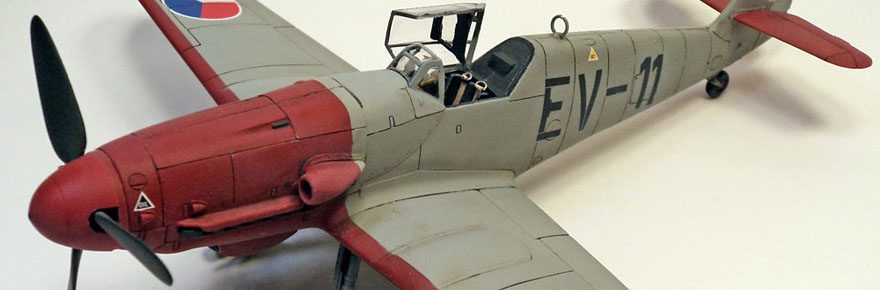
The cockpit detail is not up to modern standards, but is adequate enough for the builder satisfied with simple, out of the box builds. I did add some scratch seat belts to dress up the seats a bit.
Closing up the fuselage really showed how nice this kit is- the fit was very good. A few seams did require a little work, but nothing difficult. The wing parts fit equally well, and the wing to fuselage join was excellent. A little filler was used at the aft wing/fuselage join, but everything else fit perfectly.
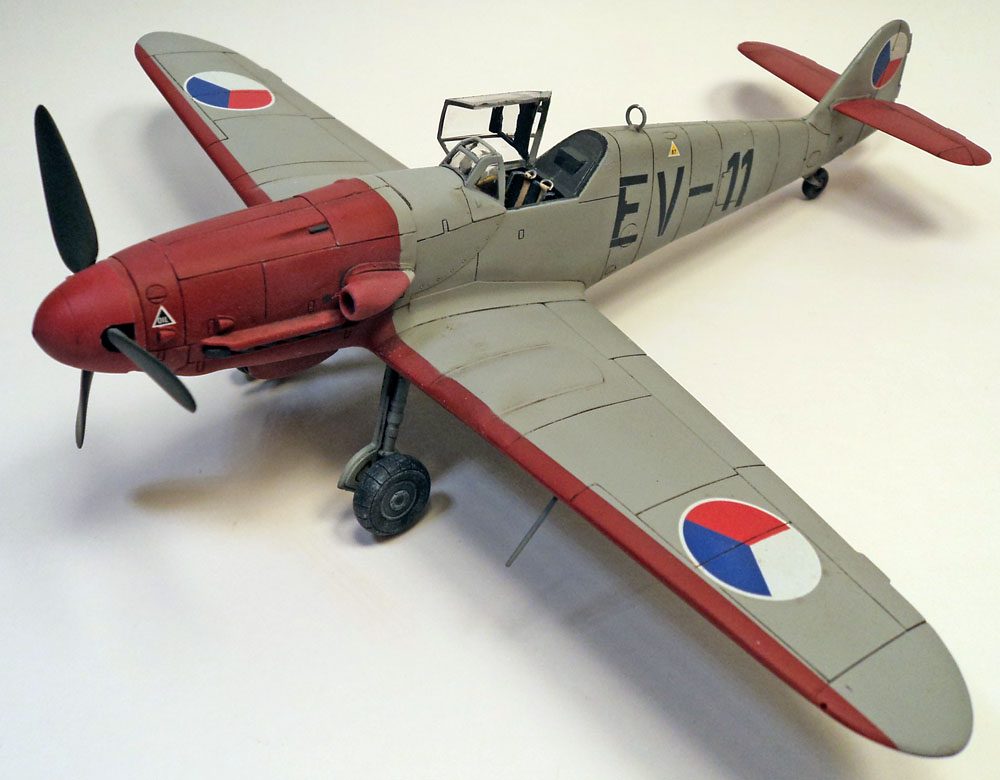
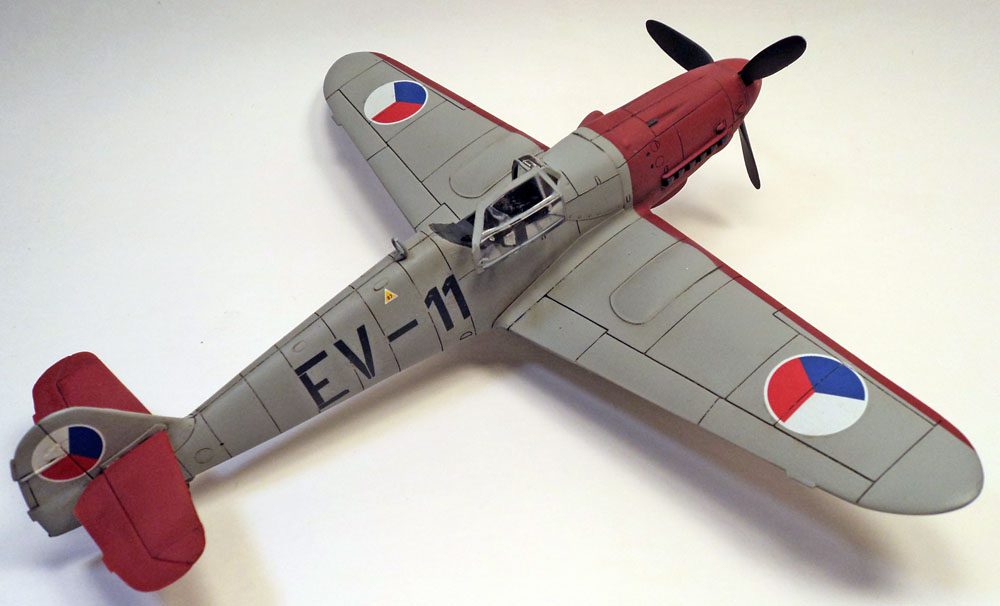
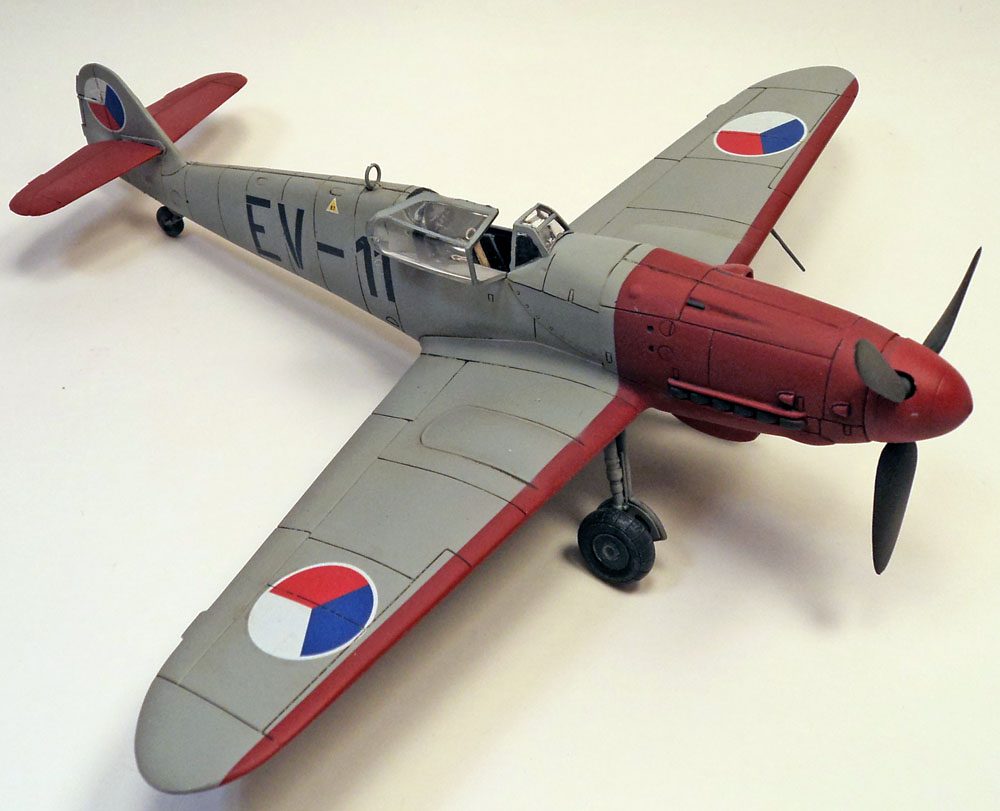
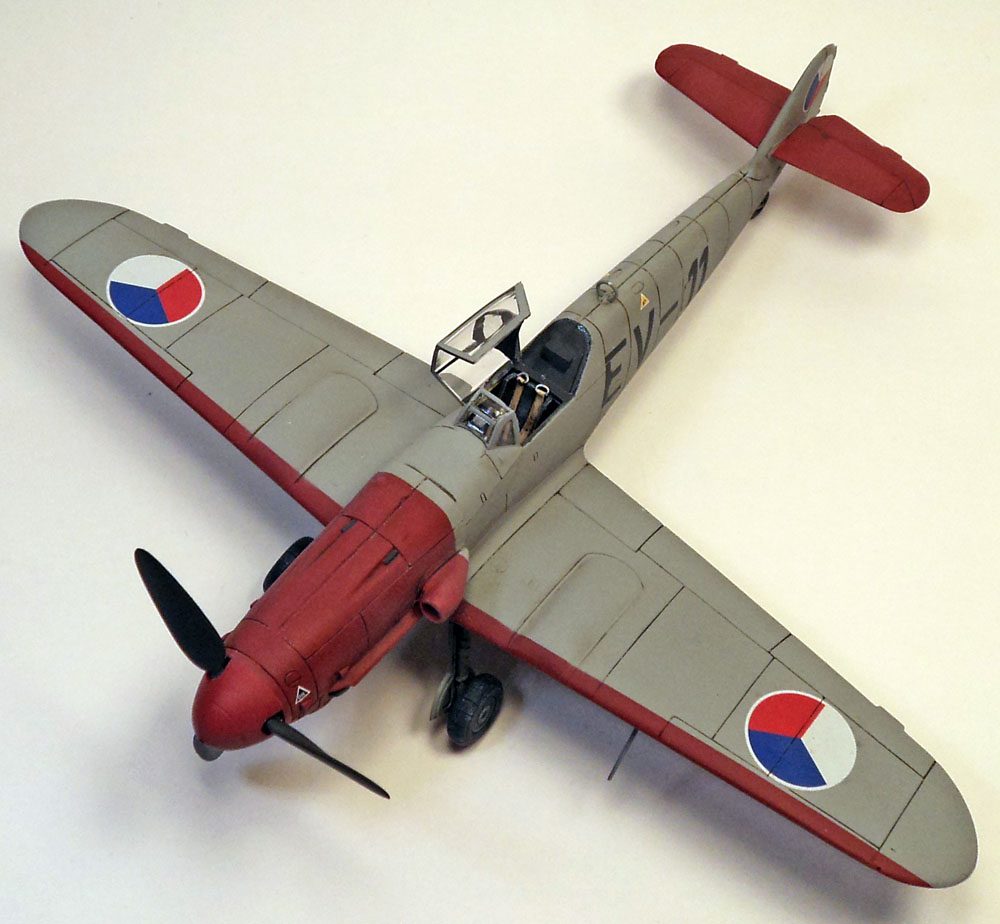
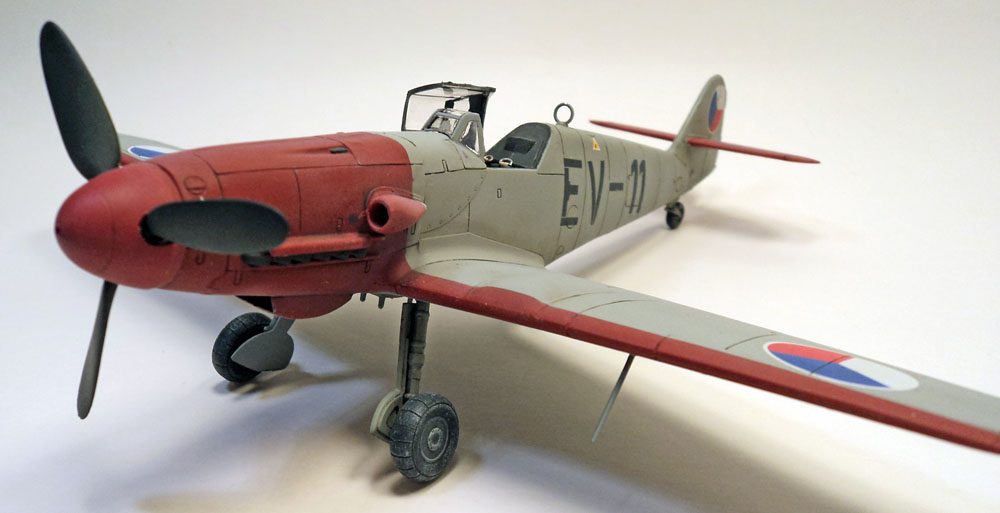
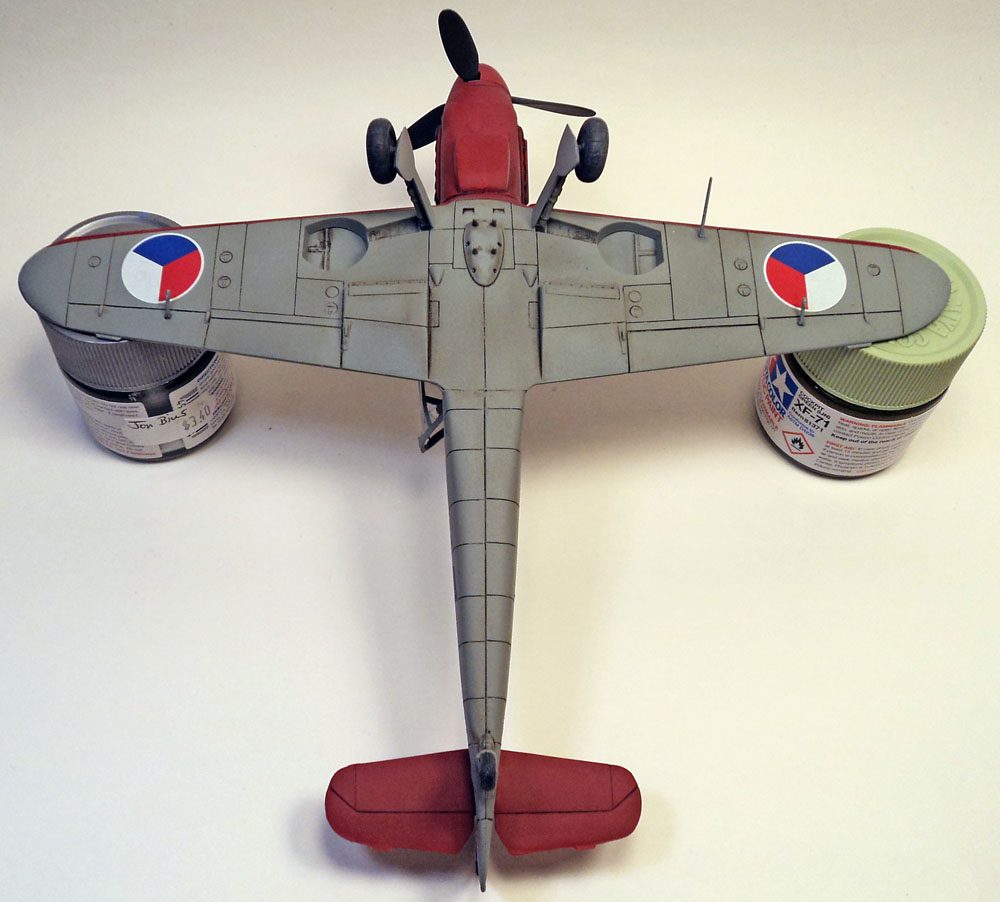
I’d found a decal sheet from Tally Ho, “Avia S-99/C-10 in Czech Service”. The sheet featured several simple but striking schemes of light gray with red trim.
I started by painting the cowl, spinner, wing leading edges and tailplanes red. Masking these off, I then needed to find RLM 75. Various internet sources pointed me to something in the lighter shades of gray, so being a “that’s close enough” type of guy, I settled on a color I had plenty of- Tamiya’s XF-83, Medium Sea Gray. With that coat of paint on, I sealed everything up with Future.
I’d forgotten of my previous experience with Tally Ho decals, building a Hurricane Mk. II. In that build, I’d summed up those decals fairly simply: “They were awful.”
While this set was a bit better than my experience with the Hurricane, I can’t say it was a much improved experience.
The decals are a bit deceptive. The color and register look good to the eye, and the carrier film seems cut very close. But in applying them, they had a tendency to fold quite easily, and once folded, no trick I knew seemed to be able to unfold them. And while some decals have a decent amount of slide in them, allowing you to make adjustments, these tended to have two options- stuck down quite firmly, or floating. It took a fair puddle of water to make adjustments, but then using a cotton bud to draw away away the water always shifted the decal. Even adding some setting solution didn’t help.
To top it off, despite how thin the decals were, and how nicely they generally snugged down, they still seemed prone to air bubbles. And trying to work those air bubbles out tended to tear the decal.
So while they are nicely colored and thin like Cartograph decals, they in no way behave like Cartograph decals.
Basically- I will only use Tally Ho decals in the future if they are the only choice for a marking scheme, and then I will have to really, really, seriously want to build that specific scheme.
Eventually I did win out though, and the decals were defeated.
I’d decided to keep this bird a bit “clean”, so after a panel wash and some very light exhaust staining, I did no additional weathering.
With regards to the kit, I have no complaints. It’s a fabulous, affordable and fun kit to build. I plan to look for some non-Nazi schemes in the future to build a few more.
I can’t say much about Tally Ho decals other than beware of their idiosyncrasies before you use them. If you slide them right off the paper and onto the model surface in the exact lace they go, you should be OK. But I’m going to avoid them in the future. (To be fair, I did read one review of this same set, and the reviewer called them “among the best decals” he’d ever used… )
In any event, I was happy with the final result. The S-99 in the striking Czech scheme is certainly a neat change from the typical World War II bird.


Leave a Reply