I’ve been a member of the Airfix Club since Hornby brought the brand back to life. For several years, I called myself “collecting” the kits. Then I started thinking about it, and decided that was for the birds…. kits are for building!
Besides, I’d heard great things about this new tool kit from Airfix, and the thought of putting it in RAF markings intrigued me. So it moved from the “collectible” pile to the “build it right now” pile.
And it was well worth it!
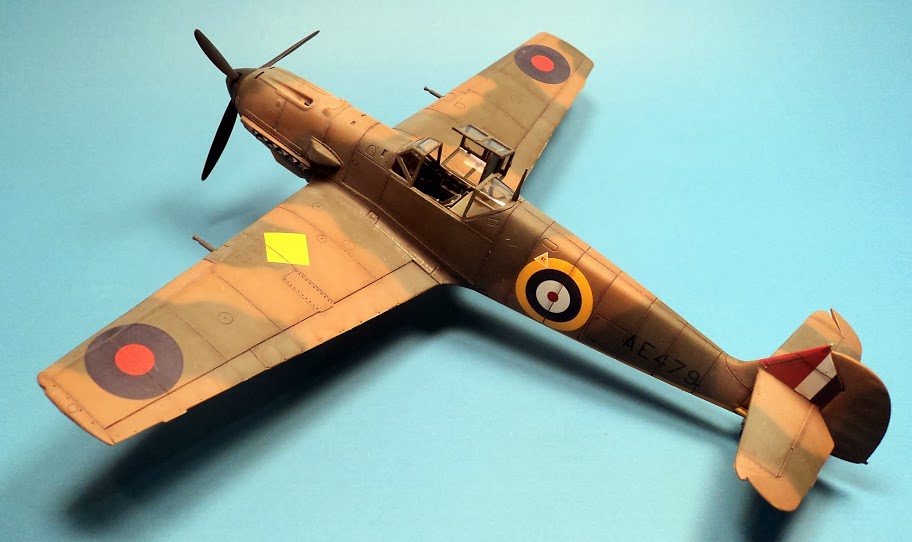
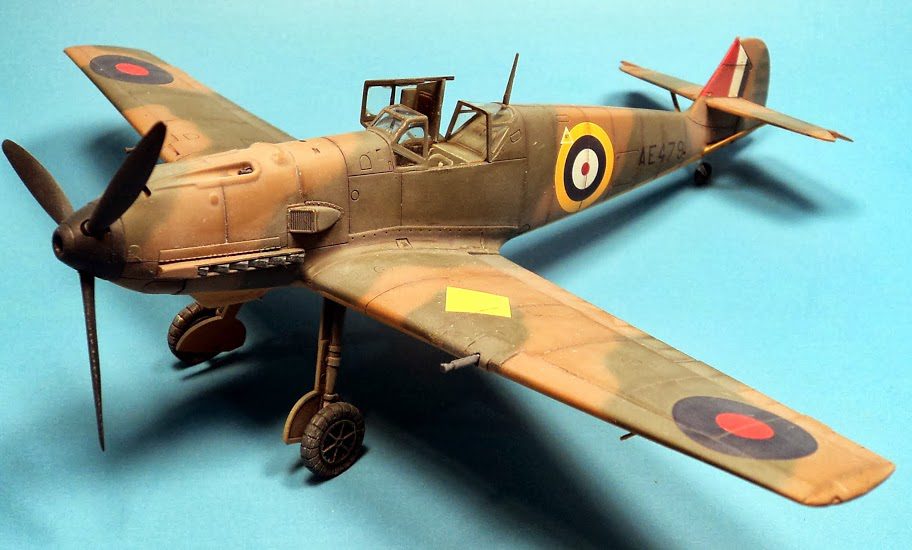
This boxing of this kit is essentially the new tool Airfix Bf-109E-3/7, with the addition of unique markings- one for a captured RAF bird, and the others for an airframe evaluated by Japan. Plenty has been written about the parts, so I’ll simply say if you’ve built any of Airfix’s new-tool 1/48 kits, this one is much like those. Good detail, excellent molding, logical parts breakdown, and not over-engineered.
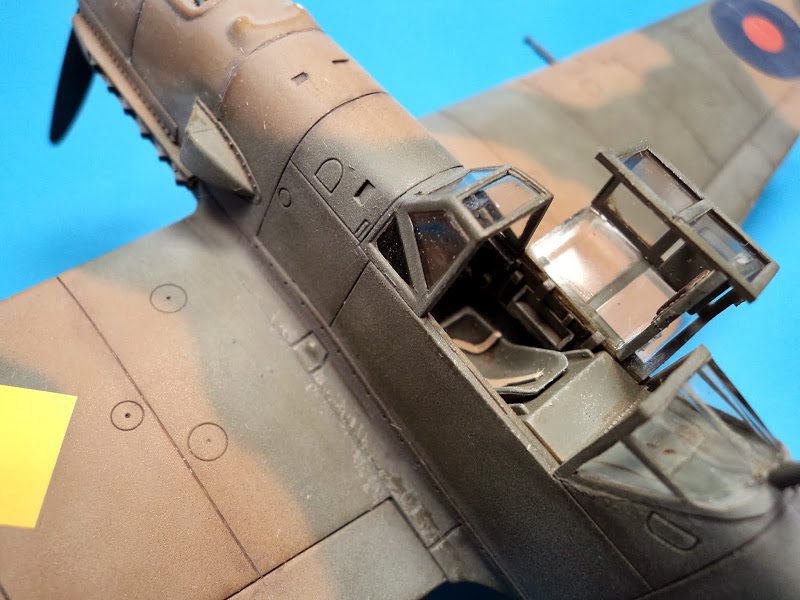
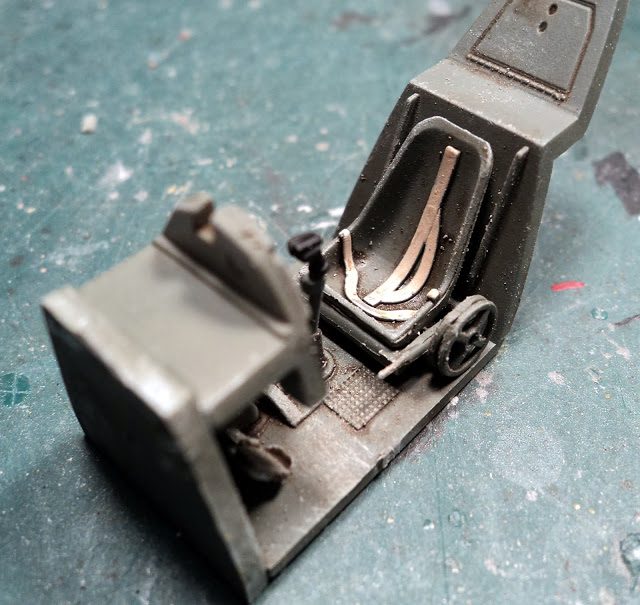
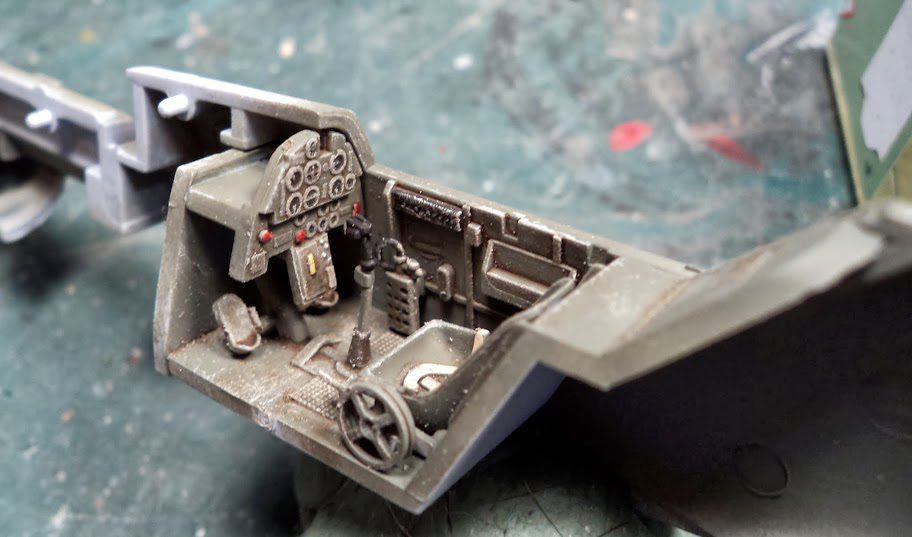
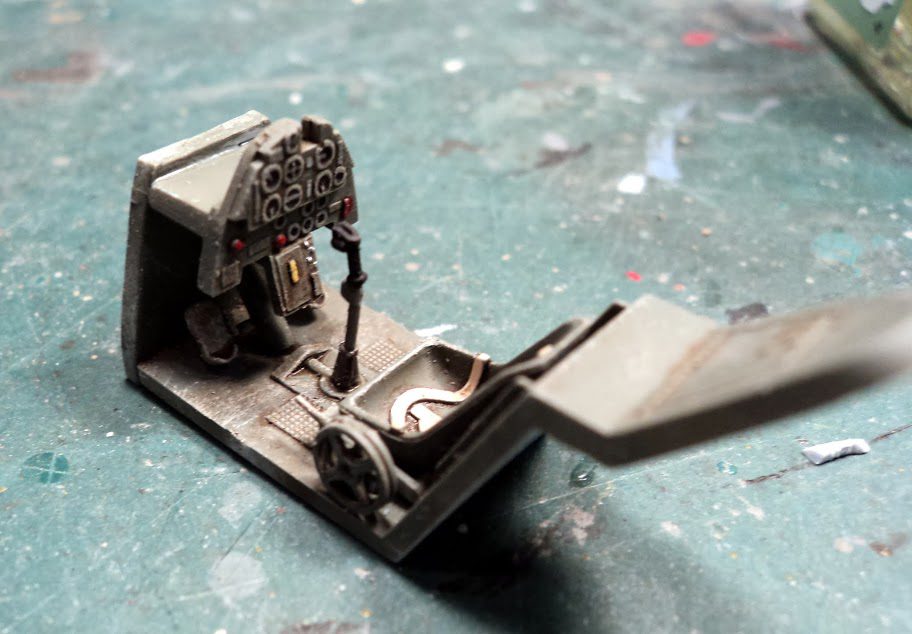
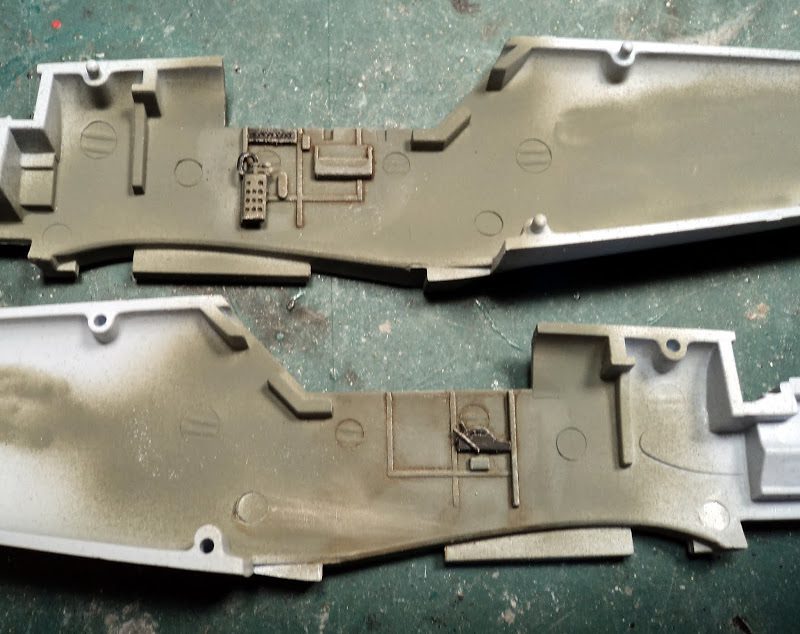
The cockpit is nicely detailed, and assembles very quickly. Belts are molded into the seat. They’re not very detailed, but I left them as they were. I don’t build very many German aircraft, so I’m not up to speed on their colors. Tamiya’s XF-22 seemed a close enough choice for the interior color, so I went with that. Some details were picked out with a brush, and a wash added to highlight the detail.
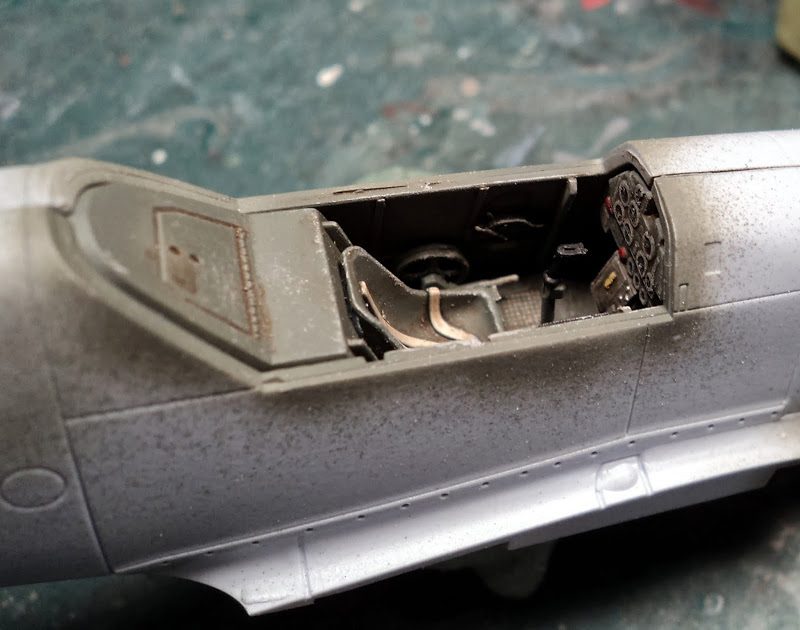
Once that was completed, I installed the cockpit into the fuselage and closed the halves up. For was very good. I’d read that the 109 had a seam down the spine, so I actually opened that up a but with an xacto knife to look closer to the panel lines. In the areas that did not have this seam, I added a touch of putty to make sure it was hidden, and sanded it smooth. There were no gaps, but I really like to make any seams disappear, so Tamiya Basic Putty is perfect for that.
The upper wing halves fit to the lowers perfectly, and mated up to the body very precisely. The only place I needed some filler was on the lower fuselage where the aft part of the wing joins the body. Nearly every kit needs some attention there. Thankfully, this one needed minimal attention. The join on the upper wing was perfect- Tamiya Extra Thin Cement and a bit of tape to hold things in place closed that up perfectly, with no additional treatment needed.
The only area that was not well fitting were the tailplane braces. They were just a bit to long. I just sanded down the base that joined into the fuselage until it fit right, which worked well. It did help to glue the horizontal stabs in place first, and get them level and allow them to dry, before placing the struts on.
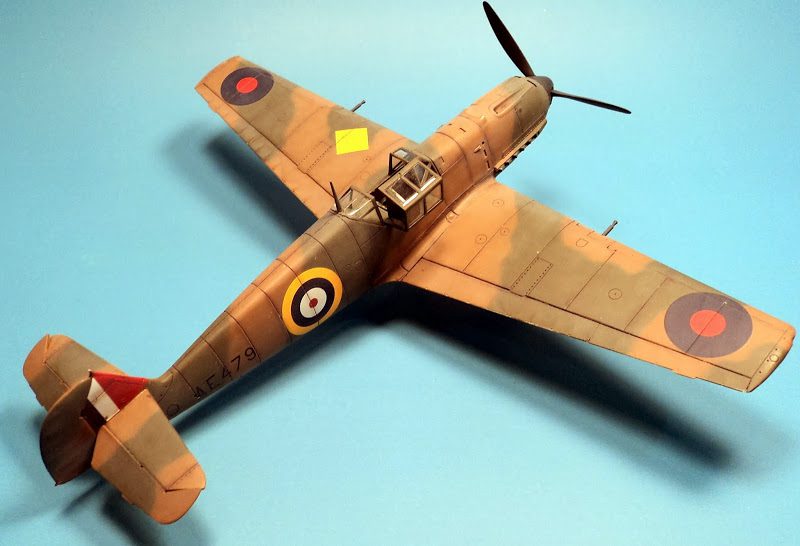
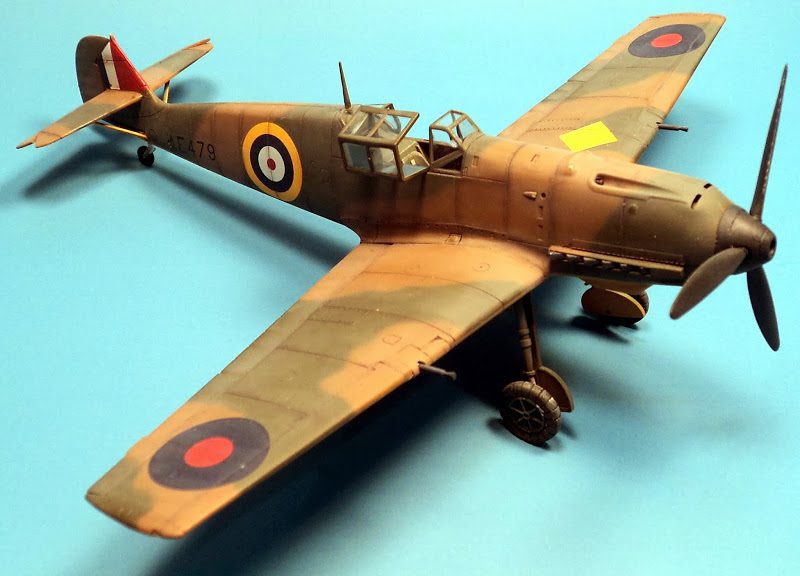
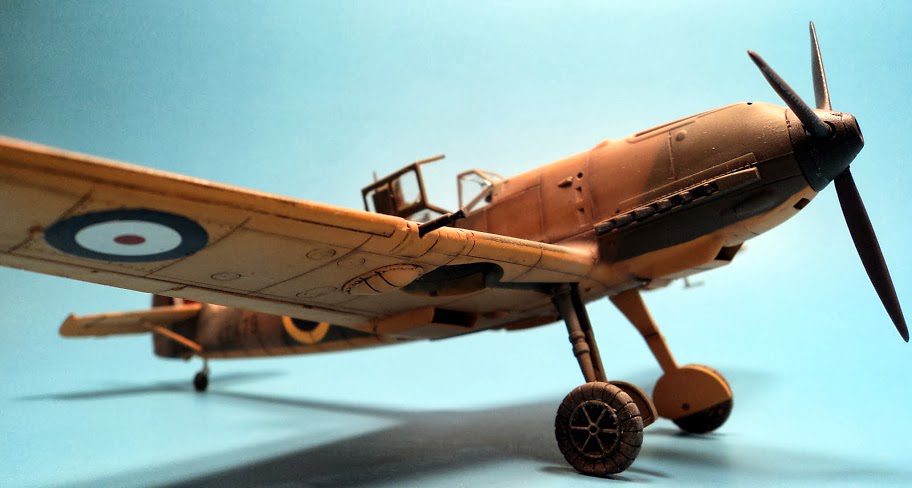
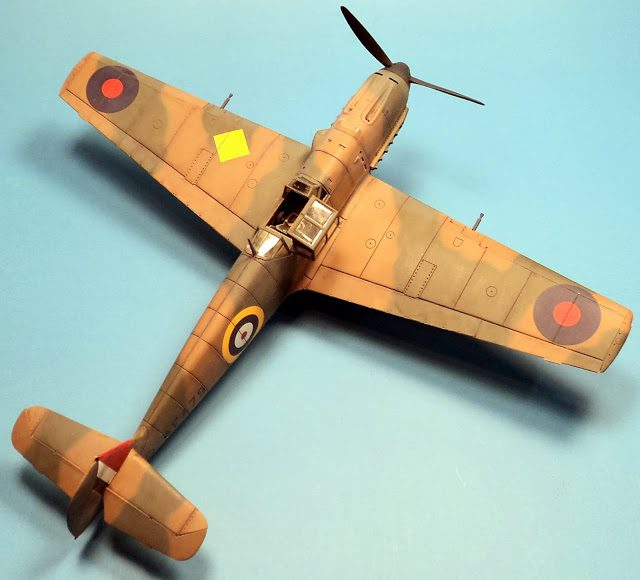
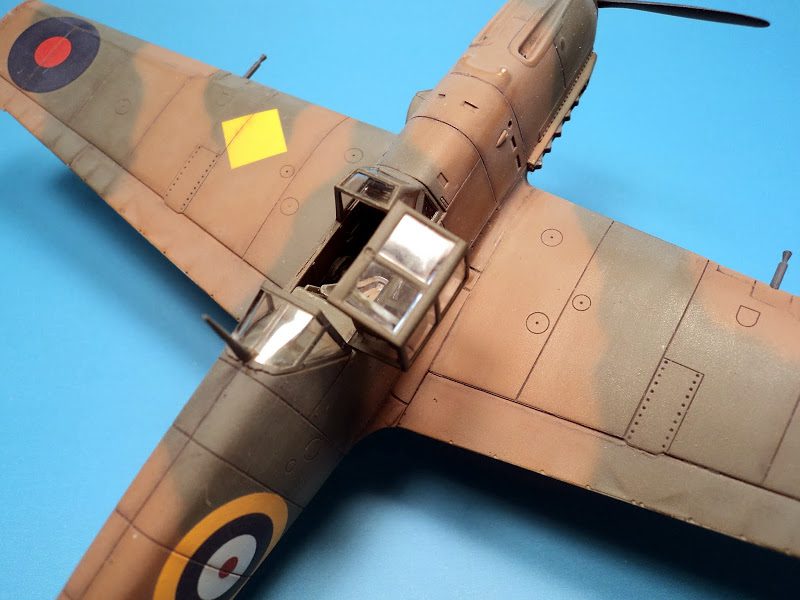
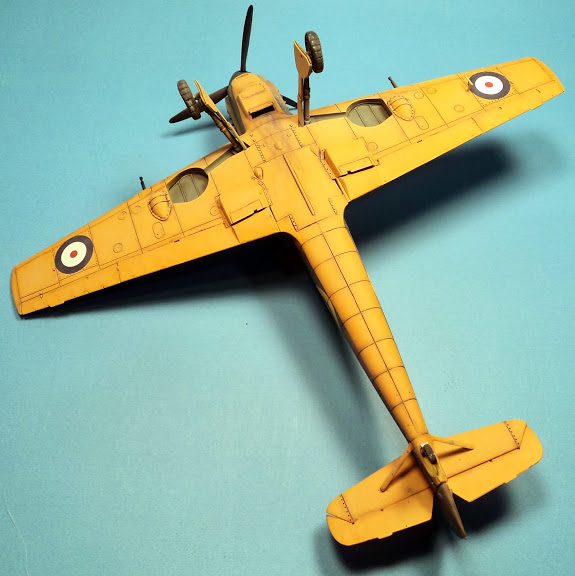
Once I had the airframe assembled, minus the landing gear, propr and fiddly bits, I started the process of painting. The undersides were painted “trainer yellow”. I read various mixes, saw various examples, and finally decided on a simple mix of Tamiya Yellow with a few drops of Tamiya Hull Red until it reach TLAR standard. (That Looks About right.)
Once that was applied and dry, I masked it off, and applied a coat of Gunze acrylic Dark Earth, followed by Tamiya RAF Dark Green. A coat of Future was applied, and then the decals.
The decals went down perfectly, and snugged up nicely with Solvaset. I followed this up with some post-shading and fading with Tamiya Deck Tan, and a mix of Tamiya Hull Red and NATO Black. I then applied a wash of artists oils, and some oil streaks. A final coat of Future sealed it all in. I added the remaining parts, and gave the entire airframe a coat of Vallejo Matt Coat.
This kit is everything I think a 1/48 WWII fighter should be- well fitting, nicely detailed, a reasonable parts count and parts breakdown, and overall a pleasure to build. Airfix continues to impress me with everything they do.
I highly recommend this kit, in any boxing!





Leave a Reply