Occasionally I do commission builds of aircraft. (Note: I gave up commission builds in 2018.) It’s a way to help fund the hobby, and add to the family income in a small way. One trend I’ve noticed is that quite often, my customers ask me to build Special Hobby kits.
Special Hobby is a Czech producer of short-run model kits. Most kits are multimedia, containing injection molded, photoetch and resin parts. Many have vacform canopies. They tend to be quite detailed, with generally accurate outlines and detail, and the various parts look very nice.
However, I’ve discovered why so many folks ask me to build them for them. Building a Special Hobby kit is quite a challenge. This Fiat G.55 Centauro was no exception.
Now, I will say right off that it’s probably one of the better Special Hobby kits I’ve built. Compared to the Special Hobby CAC Boomerang and Spitfire Mk. Vc I have previously built, this kit was a relative walk in the park.
The cockpit overall is very nicely detailed. It combines injection molded and photoetch parts. However, in places the directions are vague, or do not match up with the actual parts. Several tiny photoetch handles are shown being attached to various projections on the cockpit sidewalls, but those projections are not actually on the kit. Some pieces, such as the torture chamber that is the seat belt assembly, are virtually impossible to assemble. I know there are modelers who are saying “Well, I did it and it was no problem”, but I must say that most modelers would toss the parts aside in frustration. If you do get them glued in, complicated as they are, the detail is just about completely obscured by the overly thick, single piece canopy.
Eventually, you’ll find a happy balance of what to include and what to leave out, given how little will be seen in the final product. (I did not find any vacform canopies for the kit, and I’m not adept at making my own.) Once the fuselage is closed up, most of the really frustrating work is behind you.
The rest of the overall fit is not bad… by far it is the best of the Special Hobby kits I have built. Most seams will require attention to cover them up, but there isn’t much filler needed. I did use some along the leading edges of the wings, as the join was not very smooth. Attaching the cowl pieces also requires a bit of sanding and filling here and there, but again, nothing too onerous.
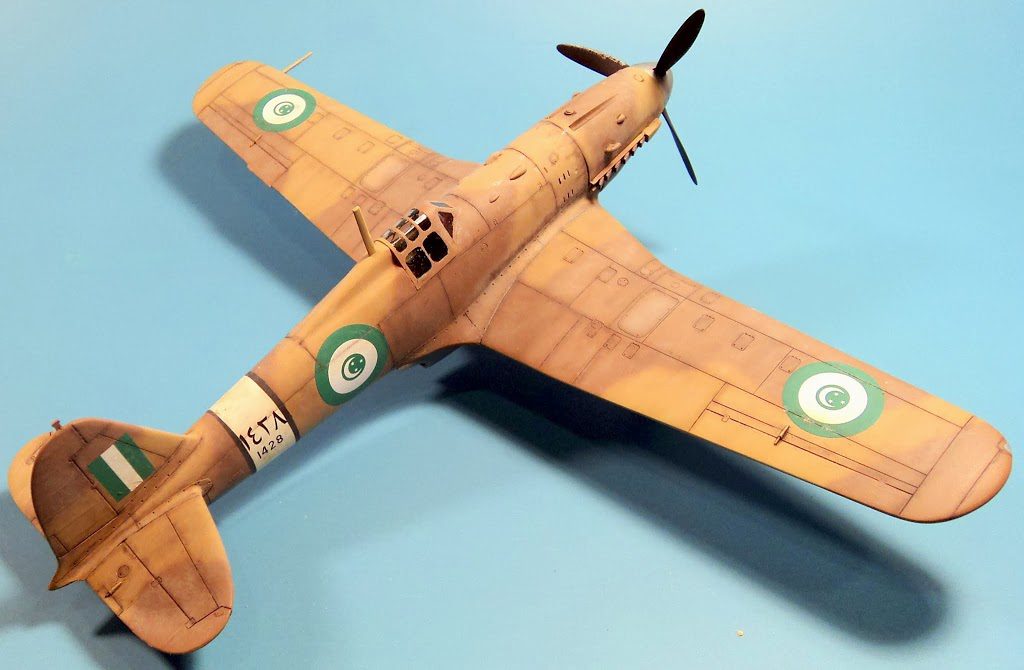
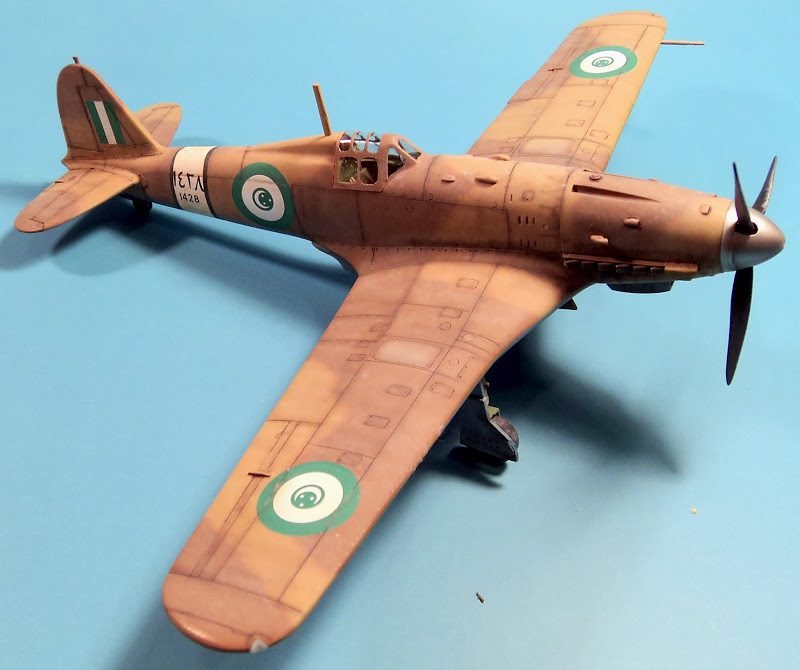
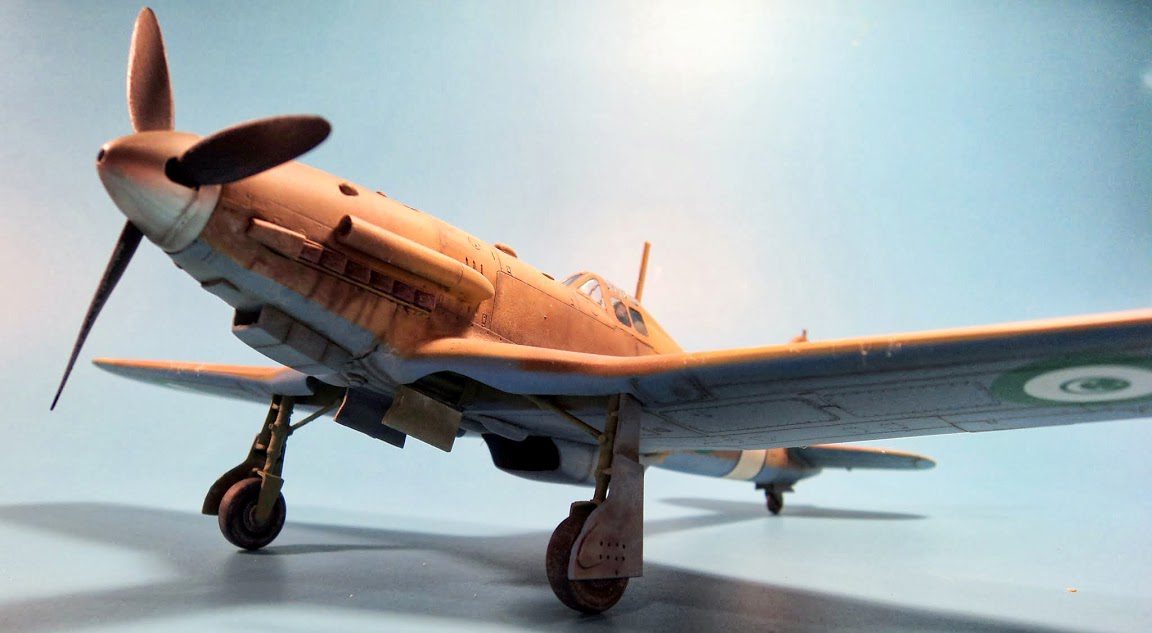
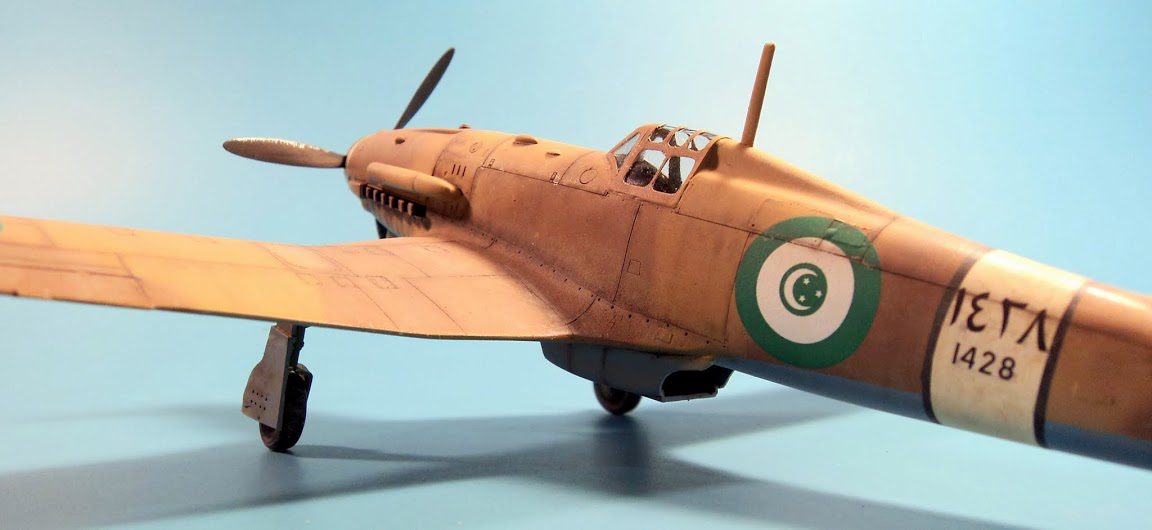
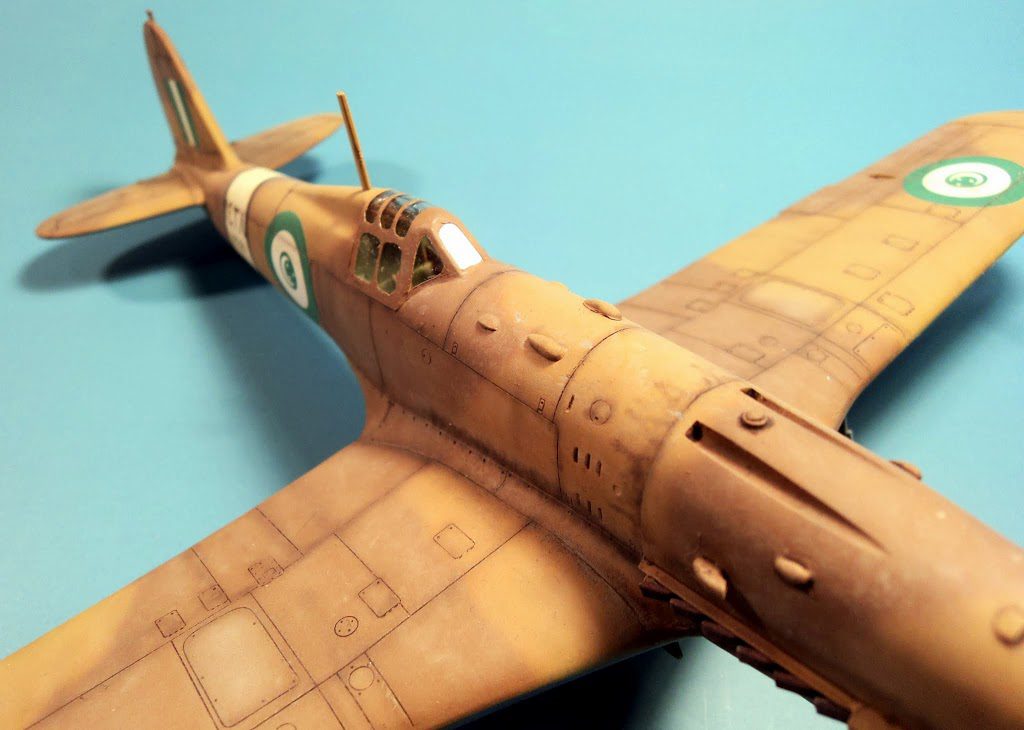
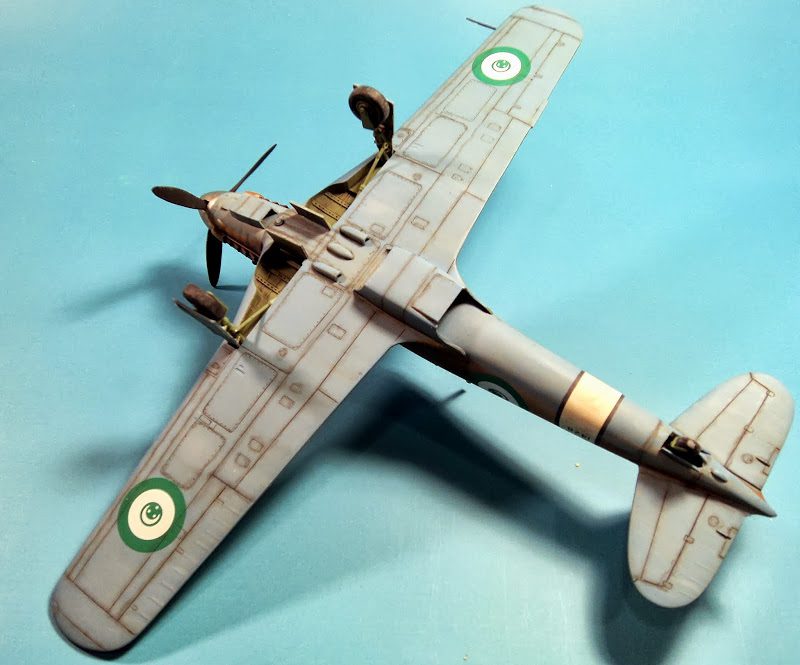
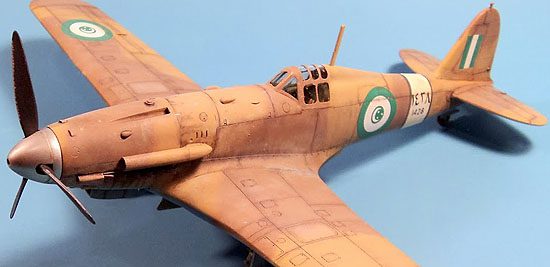
Once the major parts were assembled, painting commenced. The customer had asked for the aircraft to be marked in an Egyptian scheme. The decals provided were not specific to the G.55, but were adequate for the requested build. Upper surfaces were done with Gunze acrylics, using their middlestone and dark earth, and the undersides were Xtracrylix Azure Blue. Weathering was a combination of dark and light artists oils for staining and filters, airbrushed shading and fading with Tamiya Deck Tan and a NATO Black/Hull Red combination, and Prismacolor silver pencil for chipping.
Overall I thought it turned out pretty nicely. As fiddly as the cockpit was, the rest was not too bad. If you want to build a Fiat G.55, this is about the only game in town. I can’t say I’d recommend this kit to the casual modeler… you’ll need some multimedia experience, and lots of patience. However, I can say that if you’ve wanted to tackle a multimedia kit, but never have, this is not a bad one to start with. Just be patient, read the instructions through thoroughly prior to starting, test fit everything, and oh yeah… did I mention be patient?







Leave a Reply