
Airbrushing camouflage freehand might seem like a difficult task if you’ve never done it. And I suppose as far as airbrushing goes, it is a more complicated skill. I think what makes it seem more complicated is not so much the application itself, but not knowing a few simple basics to make it easy.
And trust me – once you’ve done it a few times, it is easy. One of those “If Jon can do it, anyone can do it” kind of things. 😉
So as with many of the skills in our hobby, it’s the things that happen before the application, and a few simple tips to apply during application, that will make the difference.
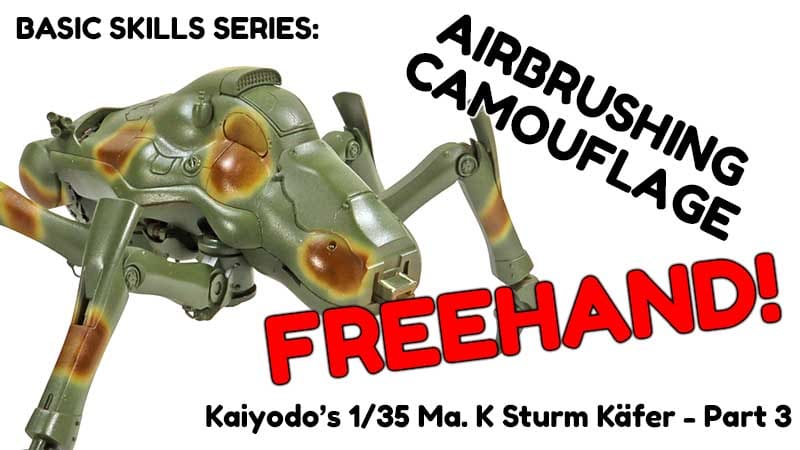
Airbrushing Camouflage Freehand
As with any airbrushing task, the first key is to know the effect of air pressure and thinning on the process.
First, when it comes to thinning, thinner is better. Generally a ratio of 70% thinner to 30% paint is a good starting point. but that is just the starting point. The brand of paint, the color, the type of thinner – all of those will have an impact on your outcomes.
Secondly, air pressure is critical. It needs to be low enough so that you’re not blasting paint all about the place. Yet it must be high enough so that the paint doesn’t splatter. For my setup, something in the 12-15 psi range works well. Again though, the brand of paint, thinning, and even the accuracy of your air gauge will vary things for everyone.
In the end, it’s more of a visual thing. When it goes on the test model correctly, you’ve nailed your settings.
A final thing to mention – though certainly this is not an exhaustive list – is understanding the airbrushes “paint cone”. When the airbrush sprays, more paint is deposited in the center of the spray pattern, and less on the edges. For freehand work, where a sharper edge is desired, we must pay attention to the outer edges of the cone. Knowing where that is – and then “walking” the paint up to the desired edge, is a critical piece of the puzzle.
Of course, all this is covered in the video!
Be sure and check out the rest of the Basic Skills series.
Leave a Reply