
Painting an engine is not something I have many opportunities to do. While I did paint a few in my aircraft days, it was truly “few”. No more than a handful really.
And I’ve not had many opportunities in the scifi world either. While a few models have exposed engine areas, not many have the fully thing.
When I saw that the Wave Gladiator kit did have one, I was quite excited to get the chance to paint it.
Painting an engine – Formulating the plan
I decided to treat the engine area as a separate build for the most part. This not only worked for the video, but also to make planning simpler.
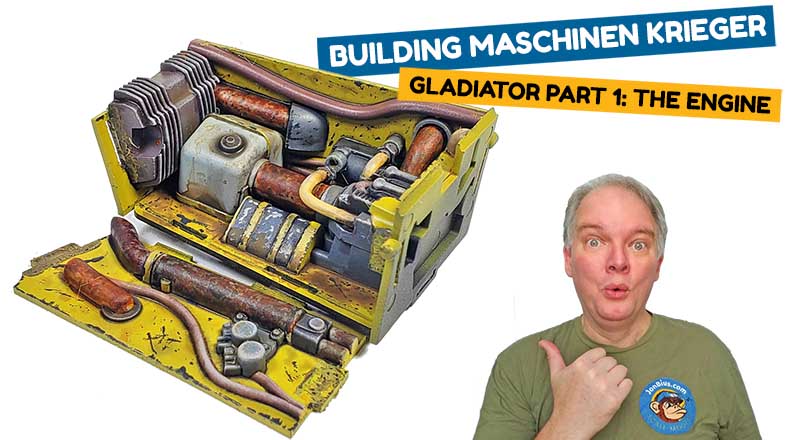
The engine and its compartment are broken down into logical pieces. This makes painting the parts quite easy. I chose a brighter background color for the interior walls. This allowed the other parts to be plainly visible. The engine compartment cover can open, so this will allow parts to show easily.
The actual techniques used in the painting process were quite simple. For the most part they are the same as would be employed in exterior painting and weathering. The principle distinction in process is color choice. The use of contrasting colors and weathering helped make sure the segments remained distinct and easily visible.
I made sure to occasionally test build the parts. This ensured that the end result would give a nice presentation when viewed externally. All of the products I used were basic and generally available to most modelers.
It was a great start to this very cool looking Wave Ma. K 1/20th scale Gladiator. The kit is one I’d recommend to any builder. The detailing is very nice, and the painting and weathering options are almost limitless.
If you are a fan of Kow Yokayoma’s Maschinen Krieger franchise, please look at my other Ma. K work.
Leave a Reply